Trails
How to create a network
Networks group your trails geographically. This article walks through creating one, every setting on the form, attaching trails, using areas for sub-groupings, editing conditions, and the delete flow.
Networks are the containers that group your trails geographically — think of them as maps within your organization. A trail belongs to one or more networks, and every visitor / operator viewing the trail can be shown alongside its neighbors in the same network.
What is a network?
A network is a geographic or thematic grouping of trails — a mountain, a park, a trail system, or a route category. Every network has its own name, description, location, condition state, and access rules. Trails inside a network can either carry their own condition or inherit the network's, which is how you close every trail in a region with one click when a storm rolls through.
Networks also contain areas — smaller sub-groupings inside the network that let you close (or open) a subset without touching the rest. Think "North Ridge" or "Beginner Loop" inside a larger "Sugarbush" network.
Creating a network
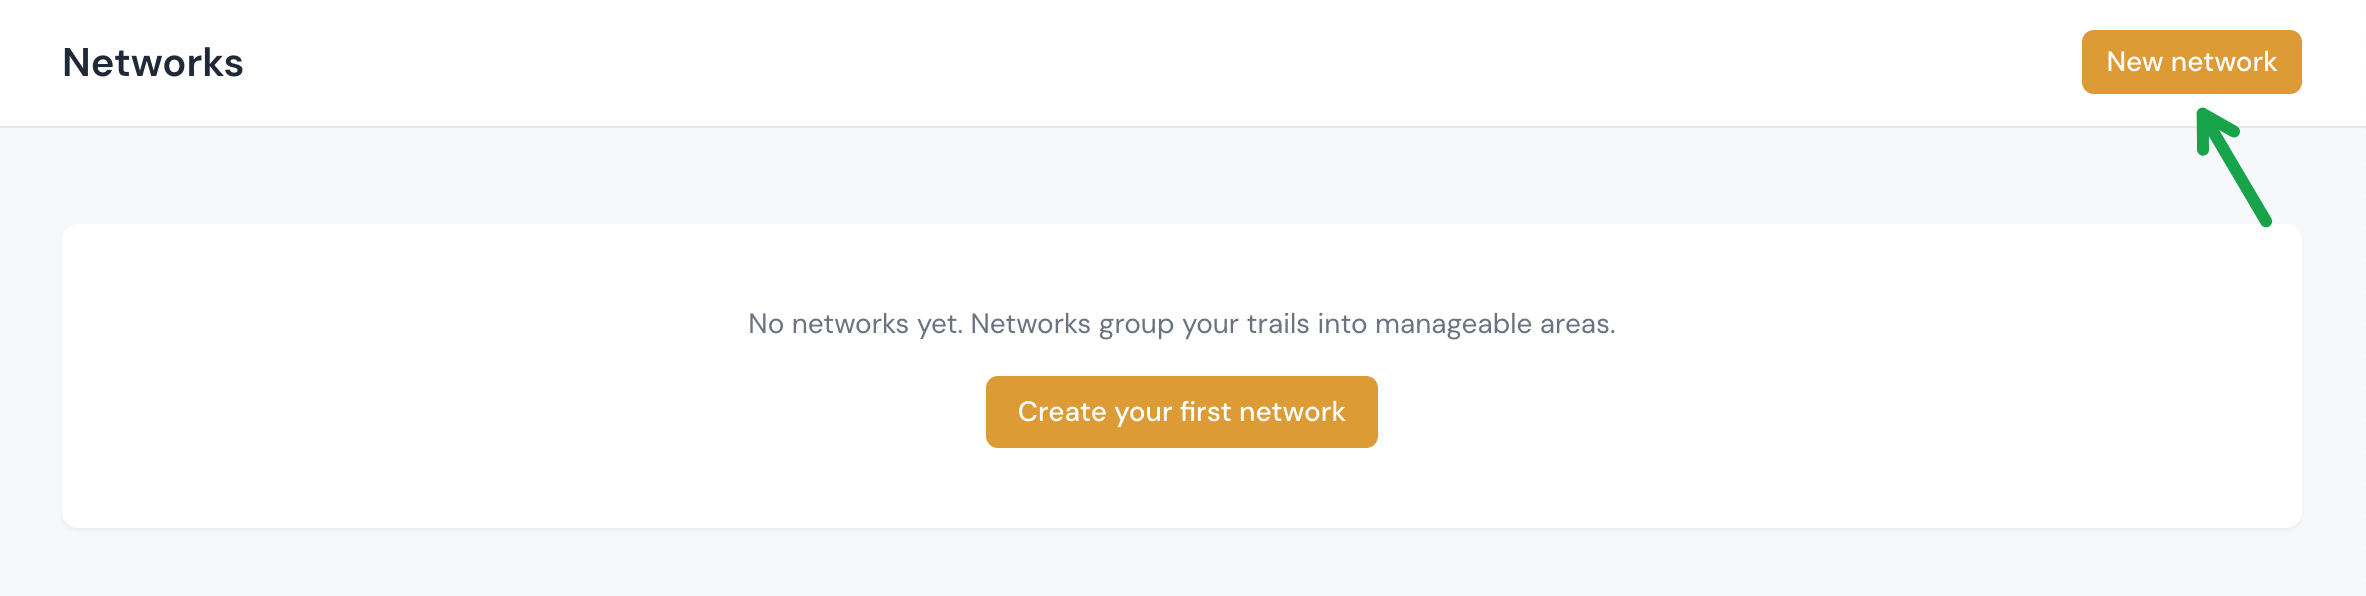
Open the Networks tab from the sidebar. If your organization doesn't have any networks yet, the page shows the empty-state message "No networks yet. Networks group your trails into manageable areas." with a Create your first network button. Otherwise, use the + New network button in the top right.
Only owners and managers can create networks — if you don't see the button, ask an owner to bump your role. Platform admins bypass this check.
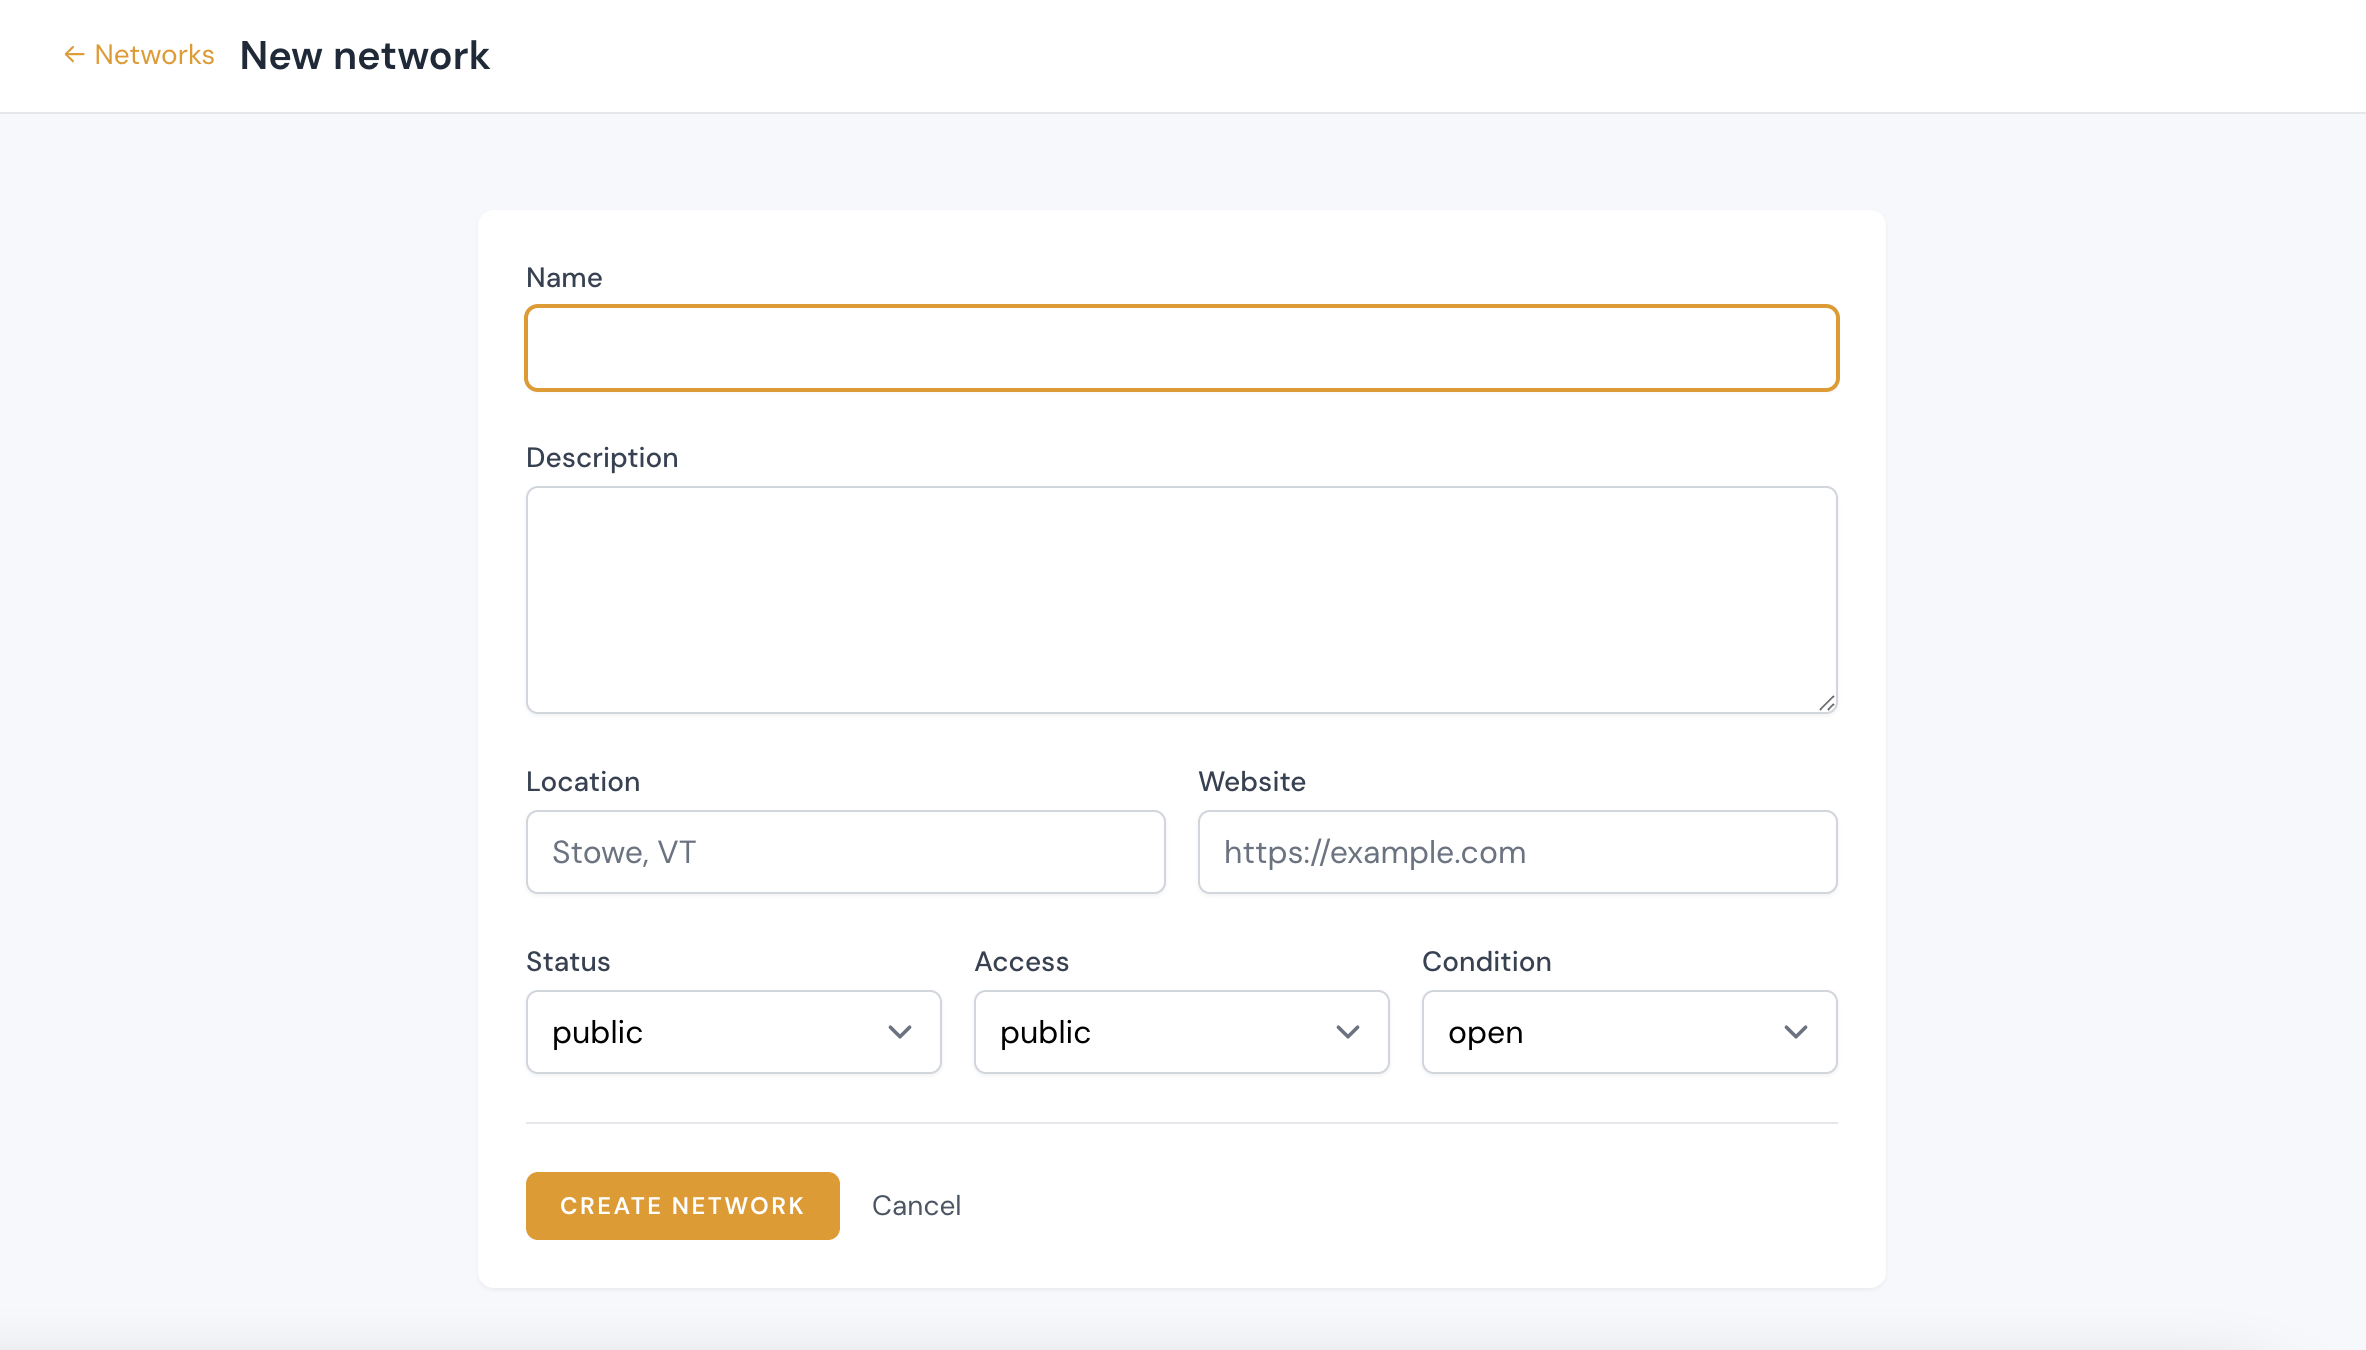
The create form is short — every field is optional except Name, and every value can be changed later on the edit page.
Fill in what you know, hit Create network, and the network's detail page opens so you can start adding trails to it. The URL slug is auto-generated from the name (you don't set it directly), and it's guaranteed to be unique inside your organization.
Network settings — every field explained
Every field on the create and edit forms is covered below. Anything you skip on create can be filled in later from the network's Edit page.
Identity
- Name — required, plain text. What shows on the network card, in the sidebar filter, and on the public trail pages when a trail belongs to this network. Change it any time; the URL slug follows the name on the first save.
- Description — optional. A short paragraph that renders on the network's Show page and, if the network is Public, on your website's Trails page and the network's own page there. A long description is shortened on the Trails page, with a Read more link to the network's page.
- Location — optional plain text (placeholder: "Stowe, VT"). Used on the network header and in search results.
- Website — optional URL (placeholder: "https://example.com"). Renders as a link where the network is shown publicly — useful for pointing riders to the club or land trust website.
Visibility
Three independent controls decide who can see the network and who's allowed on it.
- Status — Public or Hidden. Public networks appear on the public trails map, the sidebar, and search results. Hidden networks are staff-only — you'll still see them on the dashboard, but visitors and unauthenticated users can't. Your public pages never name a hidden network: not on your trail status page, your website, the embedded widget or TrailsIQ Go. A trail keeps its own status, though — a public trail that is only in hidden networks still appears on those pages, under Other trails. Set the trail itself to Hidden to take it off them too.
- Access — Public, Private, or Pass required. This is display metadata about who's allowed to actually use the network's trails. It doesn't gate anything technically — a Private network can still be Status = Public. Use them together: a Private / Hidden network is staff-only; a Pass required / Public network is on the map but marked as needing a permit.
Condition
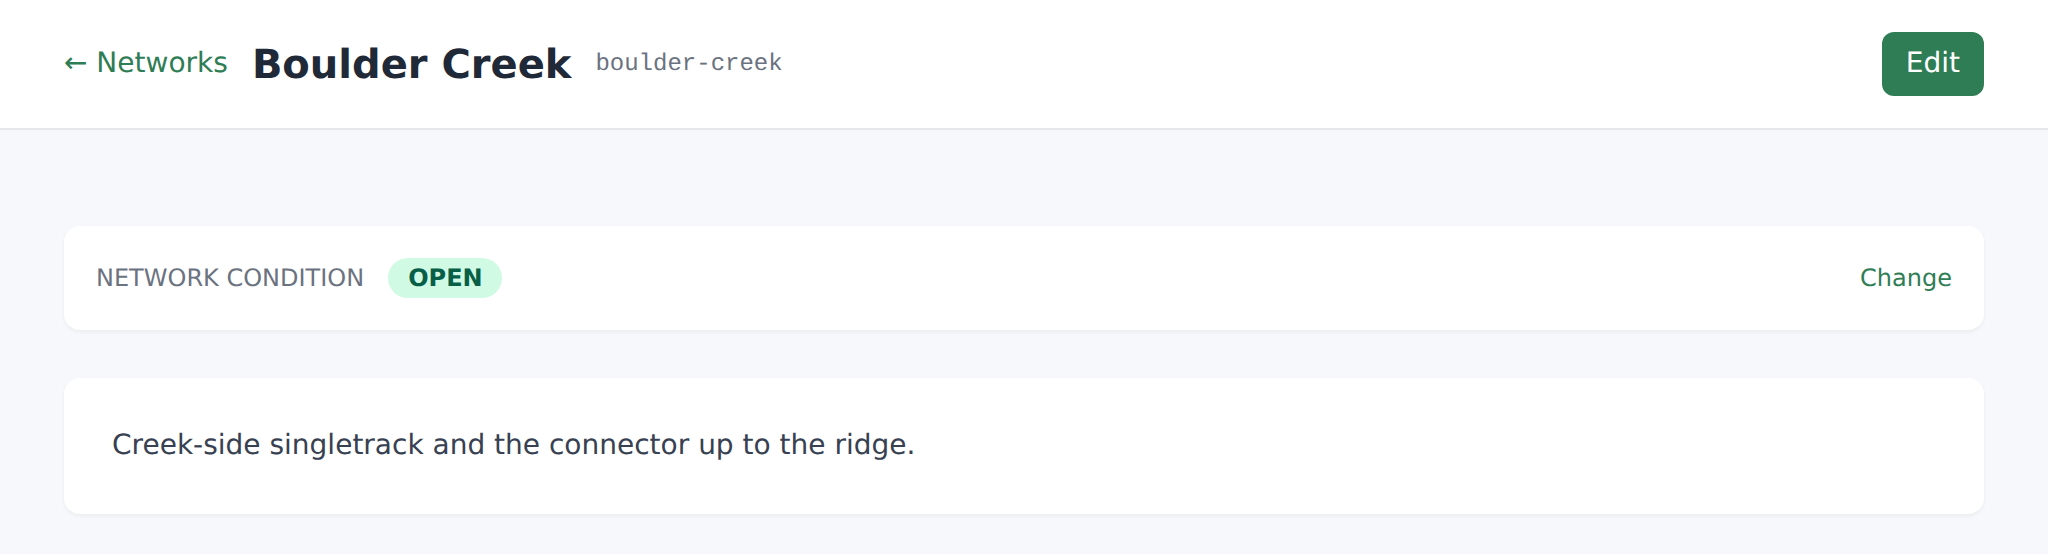
- Condition — the current condition of the whole network. Options: Unknown, Open, Caution, Closed.
- Condition note (only on the edit page) — a short free-text explanation of the current condition (placeholder: "Optional note (e.g. ice on north slope)"). Shown next to the condition badge on the network header and on any trail that's set to inherit.
Important: the network's condition no longer cascades automatically onto its trails. Each trail carries its own condition value or Inherit from area / network. When a trail is set to inherit, the reader computes the effective condition at display time by walking up: trail → area → network. So closing a network still closes every inheriting trail, but trails with their own condition value keep it.
Visitor details
(only on the edit page) Three short answers for people planning a visit, shown on the network's page on your website:
- Season — when the network is open or at its best (placeholder: "Year-round, upper ridge snowbound Dec to Mar").
- Fees — what a visit costs, or Free.
- Dogs — your dog rule (placeholder: "On leash").
All three are optional. A blank one is left off the page rather than shown empty.
Attaching trails to a network
There are two equally valid paths:
From the trail edit page. Open Trails → the trail → Edit. The Networks section has a multi-checkbox listing every network in your organization — tick the ones this trail should belong to and save. This is a full-replace: whatever you tick is what the trail ends up in, so a save with nothing ticked removes the trail from every network.
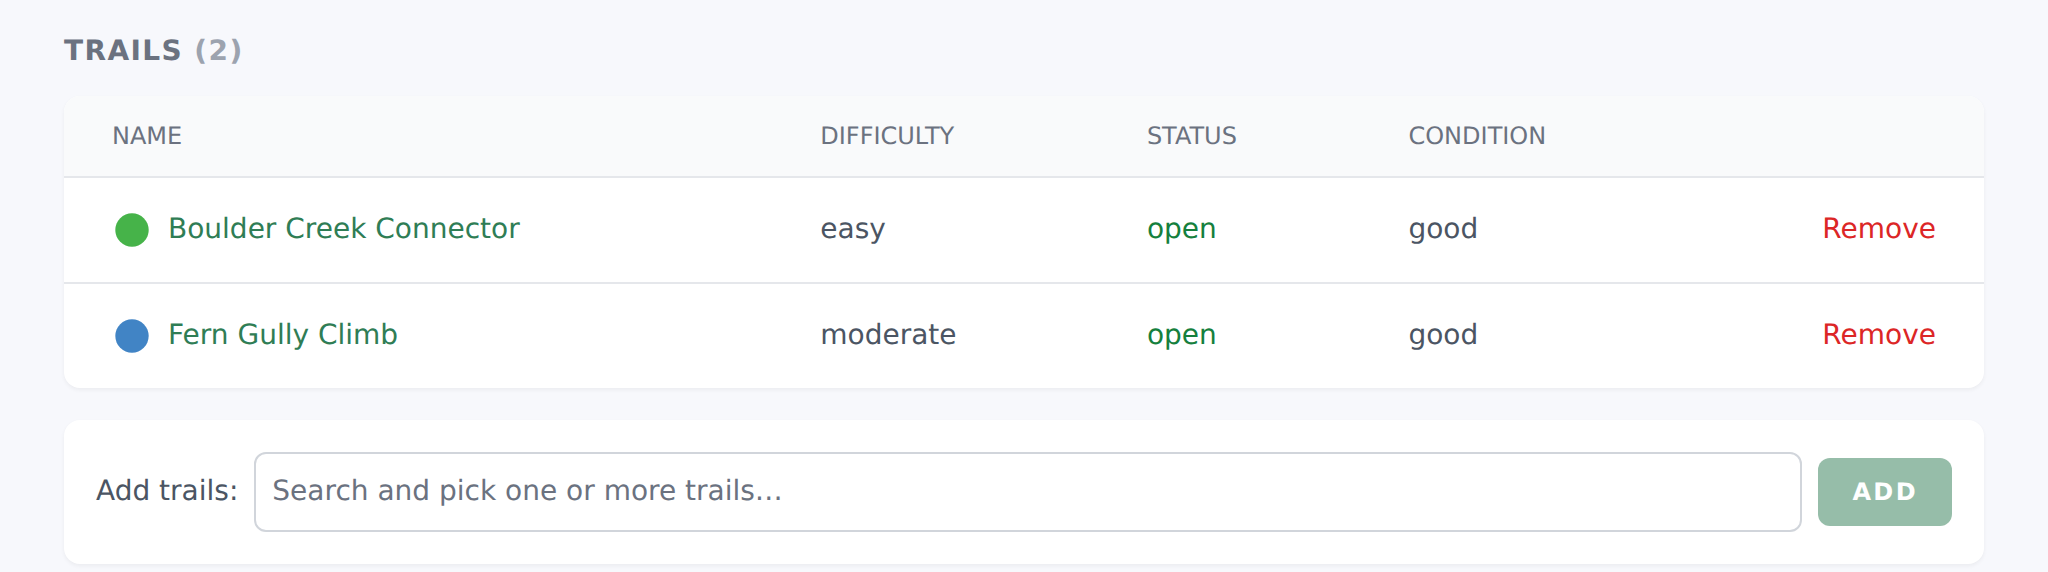
From the network's Show page. The "Add trails" section under the trails table shows a searchable multi-select of every trail in your organization that isn't already in this network — start typing a trail name, pick one or more, and hit Add. The trails appear in the trails table above immediately.
The Show-page section hides itself when every trail is already attached — there's nothing to add, so the picker would be empty. If you don't see it, it's not missing: you've already got every trail on this network. Add a new trail from the Trails tab, then come back and the section reappears.
Trails can belong to multiple networks at once. Adding a trail to a second network doesn't remove it from the first — the same trail can be part of, say, "Cross-country zone" and "Beginner trails" simultaneously.
Grouping trails into areas
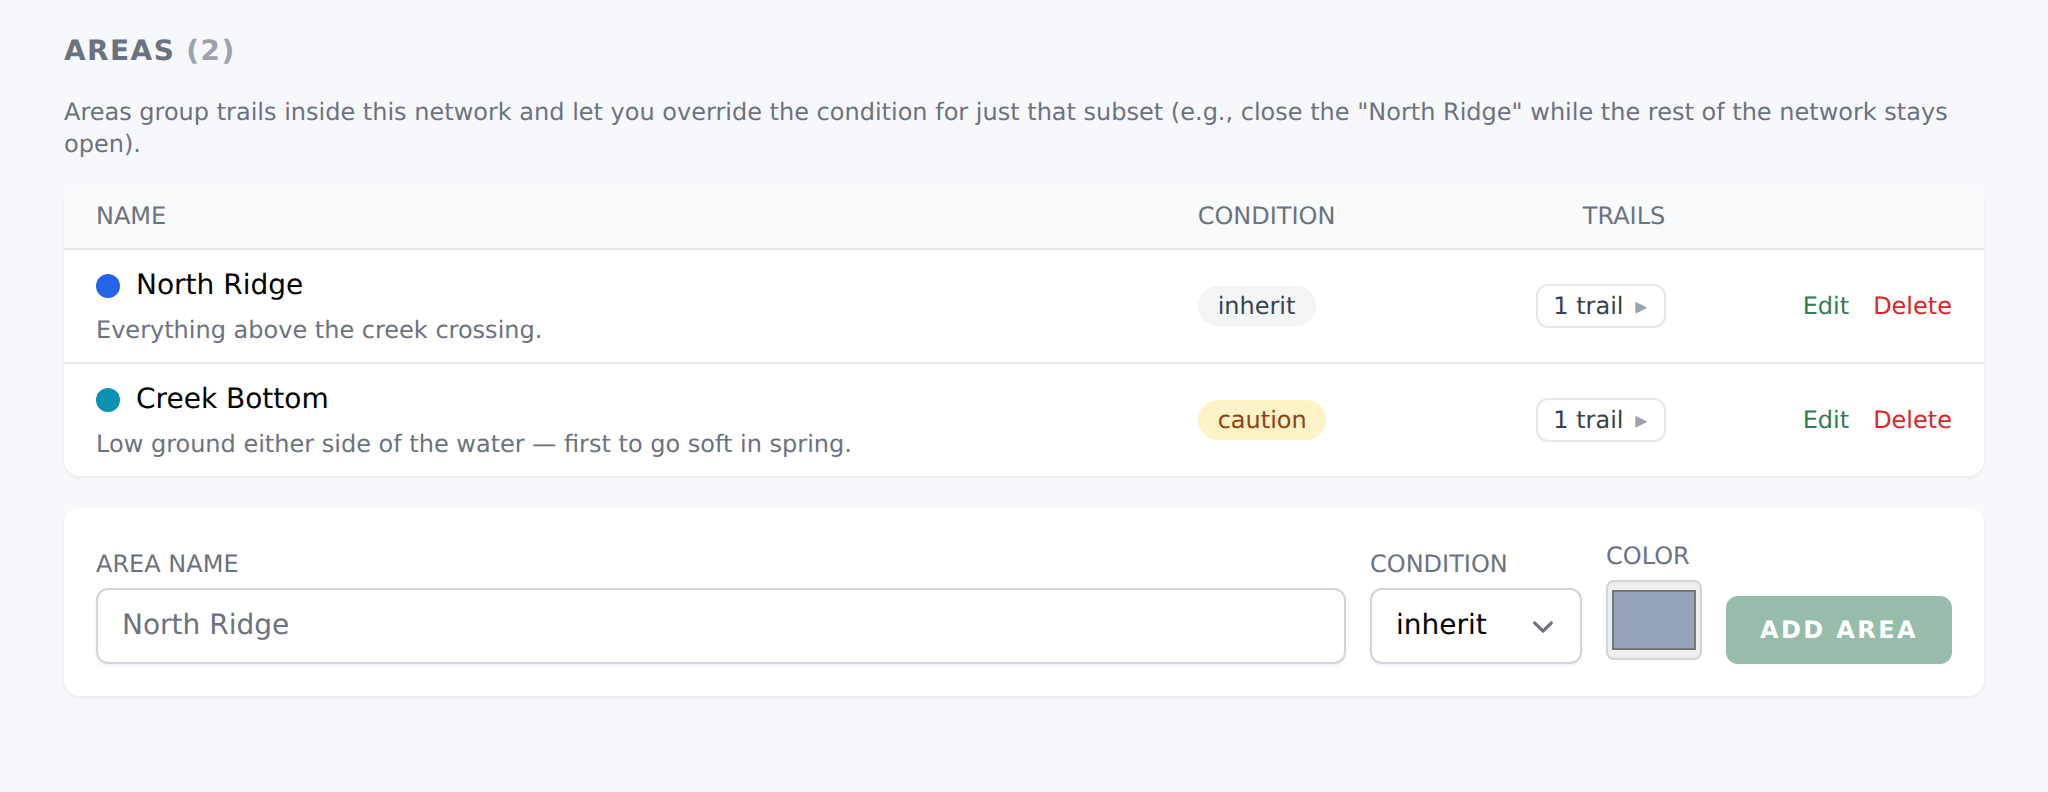
Areas are sub-groupings inside a network. A network can have multiple areas, and each area can have its own condition override — perfect for closing "North Ridge" while the rest of the mountain stays open.
Areas are created inline on the network's Show page. The form has three fields:
- Area name — required, plain text (placeholder: "North Ridge").
- Condition — Inherit, Unknown, Open, Caution, or Closed. Inherit means the area follows the network's condition; anything else overrides for the trails inside that area.
- Color — a color swatch used to visually group the area on the network map and trails list (default: a soft gray).
Hit Add area to create it. Once the area exists, you can attach trails to it from the same page — a trail can be in a network and an area at the same time. Each trail's effective condition is resolved trail → area → network in that order, so the most specific setting wins.
Deleting an area doesn't remove its trails — the confirmation reads "Delete area "X"? Trails attached to it stay; only the grouping is removed."
Editing conditions
The network header carries a Network condition row with the current state and a Change button. Hitting it opens an inline editor with:
- The condition dropdown (Unknown / Open / Caution / Closed).
- A note field for context ("Optional note (e.g. ice on north slope)").
- Save to commit.
Every condition change is logged with the user who made it, so you can look back later and see who closed the network on which day. Both the dashboard change and any future field-app change appear in the audit trail with the source marked (dashboard vs field-app).
Trailheads and parking
The network's page lists its Trailheads and parking: every point of interest marked Trailhead or Parking that is on one of the network's trails, or that sits inside the network's area without being on a trail. Click one to open it on the Points of interest page.
They are made where every other point is made. Open Points of interest, add a point, choose Trailhead or Parking as its category, and pick one of this network's trails (or drop it inside the network's area). It appears on the network's page right away. When a network has none yet, the card says so and links to the Points of interest page.
They also appear on the network's page on your website, each with a Directions link that opens the visitor's maps app.

Deleting a network
Open Networks → the network → Edit. Scroll to the Danger zone at the bottom. The Delete network button confirms with the exact copy:
"Permanently delete this network? Trails stay but their pivot link to this network is removed."
That message is literal:
- The trails themselves are untouched. They stay in your organization, keep every setting, and continue to be reachable from the Trails tab.
- The pivot link between the trail and this network is removed — so any trails that were only in this network are effectively unrouted from a network. Add them to a different one.
- Any areas belonging to the network are cascaded away with it. Trails formerly in those areas keep the trail row.
- Any condition change history for the network is retained for audit but no longer routed anywhere.
There's no archive or soft-delete for networks. If you want to hide a network temporarily instead of deleting it, set Status → Hidden and keep it around.
Common gotchas
- Networks don't have their own color. Only areas do. The trail card / list uses the difficulty palette, not a network brand color.
- Status vs Access vs Condition are independent. Any combination is valid: a Public / Private / Closed network is on the map, marked as private, and shows a red closed badge.
- A trail's condition doesn't auto-cascade any more. The trail must explicitly be set to Inherit on its edit page for the network's condition to reach it. Newly-imported trails default to Inherit — trails imported before this change may still carry an explicit condition and need to be flipped manually.
- Areas belong to one network only. There's no "shared area" across networks; if you need the same subset in two places, you'll have to duplicate.
What's next
- Now that the network exists, add trails to it — or read the How to create a trail article if you don't have any trails yet.
- Configure the trail-side Inherit from network access + condition on any trails that should follow the network's state.
- Once you have a few networks, set up filters on the Trails tab to slice by network for planning and reporting.