Infrastructure
How to create and edit points of interest
POIs — viewpoints, campsites, water, trailheads, parking — are filed from the field app and edited from the dashboard slide panel. Covers the nine default POI types, per-type attributes, photos, trail linkage, why POIs are private, and the delete behavior.
Points of interest (POIs) are the things trail users might want to know about but that aren't built infrastructure: viewpoints, campsites, water sources, trailheads, parking lots. Every POI has coordinates, a category, a name, an optional description, optional photos, and per-type attributes — smaller-footprint than a structure, but the same shape as a data record.
What is a POI?
A POI is a labeled point on the map. Every POI has a name, a category (Trailhead, Viewpoint, Water, Campsite, etc.), coordinates, an optional description, optional photos, and optional per-type custom fields. It can be attached to a trail (the trail's Show page then lists it) or stand alone.
POIs are private to your organization — they show on the dashboard and the field app for your team, but not on the public trail pages or the public map. If you want to publish a viewpoint or a trailhead to the outside world, that's a documentation-side effort (add it to the trail's description or a dedicated marketing page), not a settings toggle.
POIs are simpler than structures — no condition tracking, no inspection cadence, no network linkage, no auto-generated code, no materials calculator. Use them for anything you want a labeled pin for.
POI types and categories
Every POI has one primary type. The primary type controls its name in the UI, the icon + color of its map marker, the category bucket it falls into, and any per-type attribute fields on the wizard.
A point can also be other types at the same time. A trailhead is often a parking lot too, and an overlook can have a water spigot. Tick those under Also when you edit the point. The point then shows up under every one of its types: in the type filter and its counts, on the field app's type chips, and in a network's Trailheads and parking list. Its marker keeps the primary type's icon and color.
A point can also name the infrastructure standing at it, like a trailhead's kiosk and its trail map. Edit the point and tap them under Infrastructure here, on the dashboard or in the field app. Only infrastructure within 300 m (about 1,000 ft) of the point is listed, nearest first, with its distance. The point's panel then lists them, and each one's panel says which place it is Part of, so you can go from one to the other. On a trailhead or parking lot, the types of each linked piece of infrastructure, its Also types included, are also listed on the point's card on your public network pages. Deleting either side removes the link and nothing else.
Every point's panel, on the dashboard and in the field app, says when it was added and who added it, for example Added Oct 7, 2026 by Sam Rivera. Points added before October 2026, or brought in by an import, show only the date.
Every fresh organization ships with nine default types:
| Type | Category |
|---|---|
| Trailhead | access |
| Parking | access |
| Viewpoint | viewpoint |
| Water | amenity |
| Campsite | amenity |
| Restroom | amenity |
| Shelter | amenity |
| Gate | feature |
| Other | feature |
The four categories (access, viewpoint, amenity, feature) are used to group POIs on filter chips and to color the marker on the map — access is blue, amenity is green, viewpoint is amber, feature is gray.
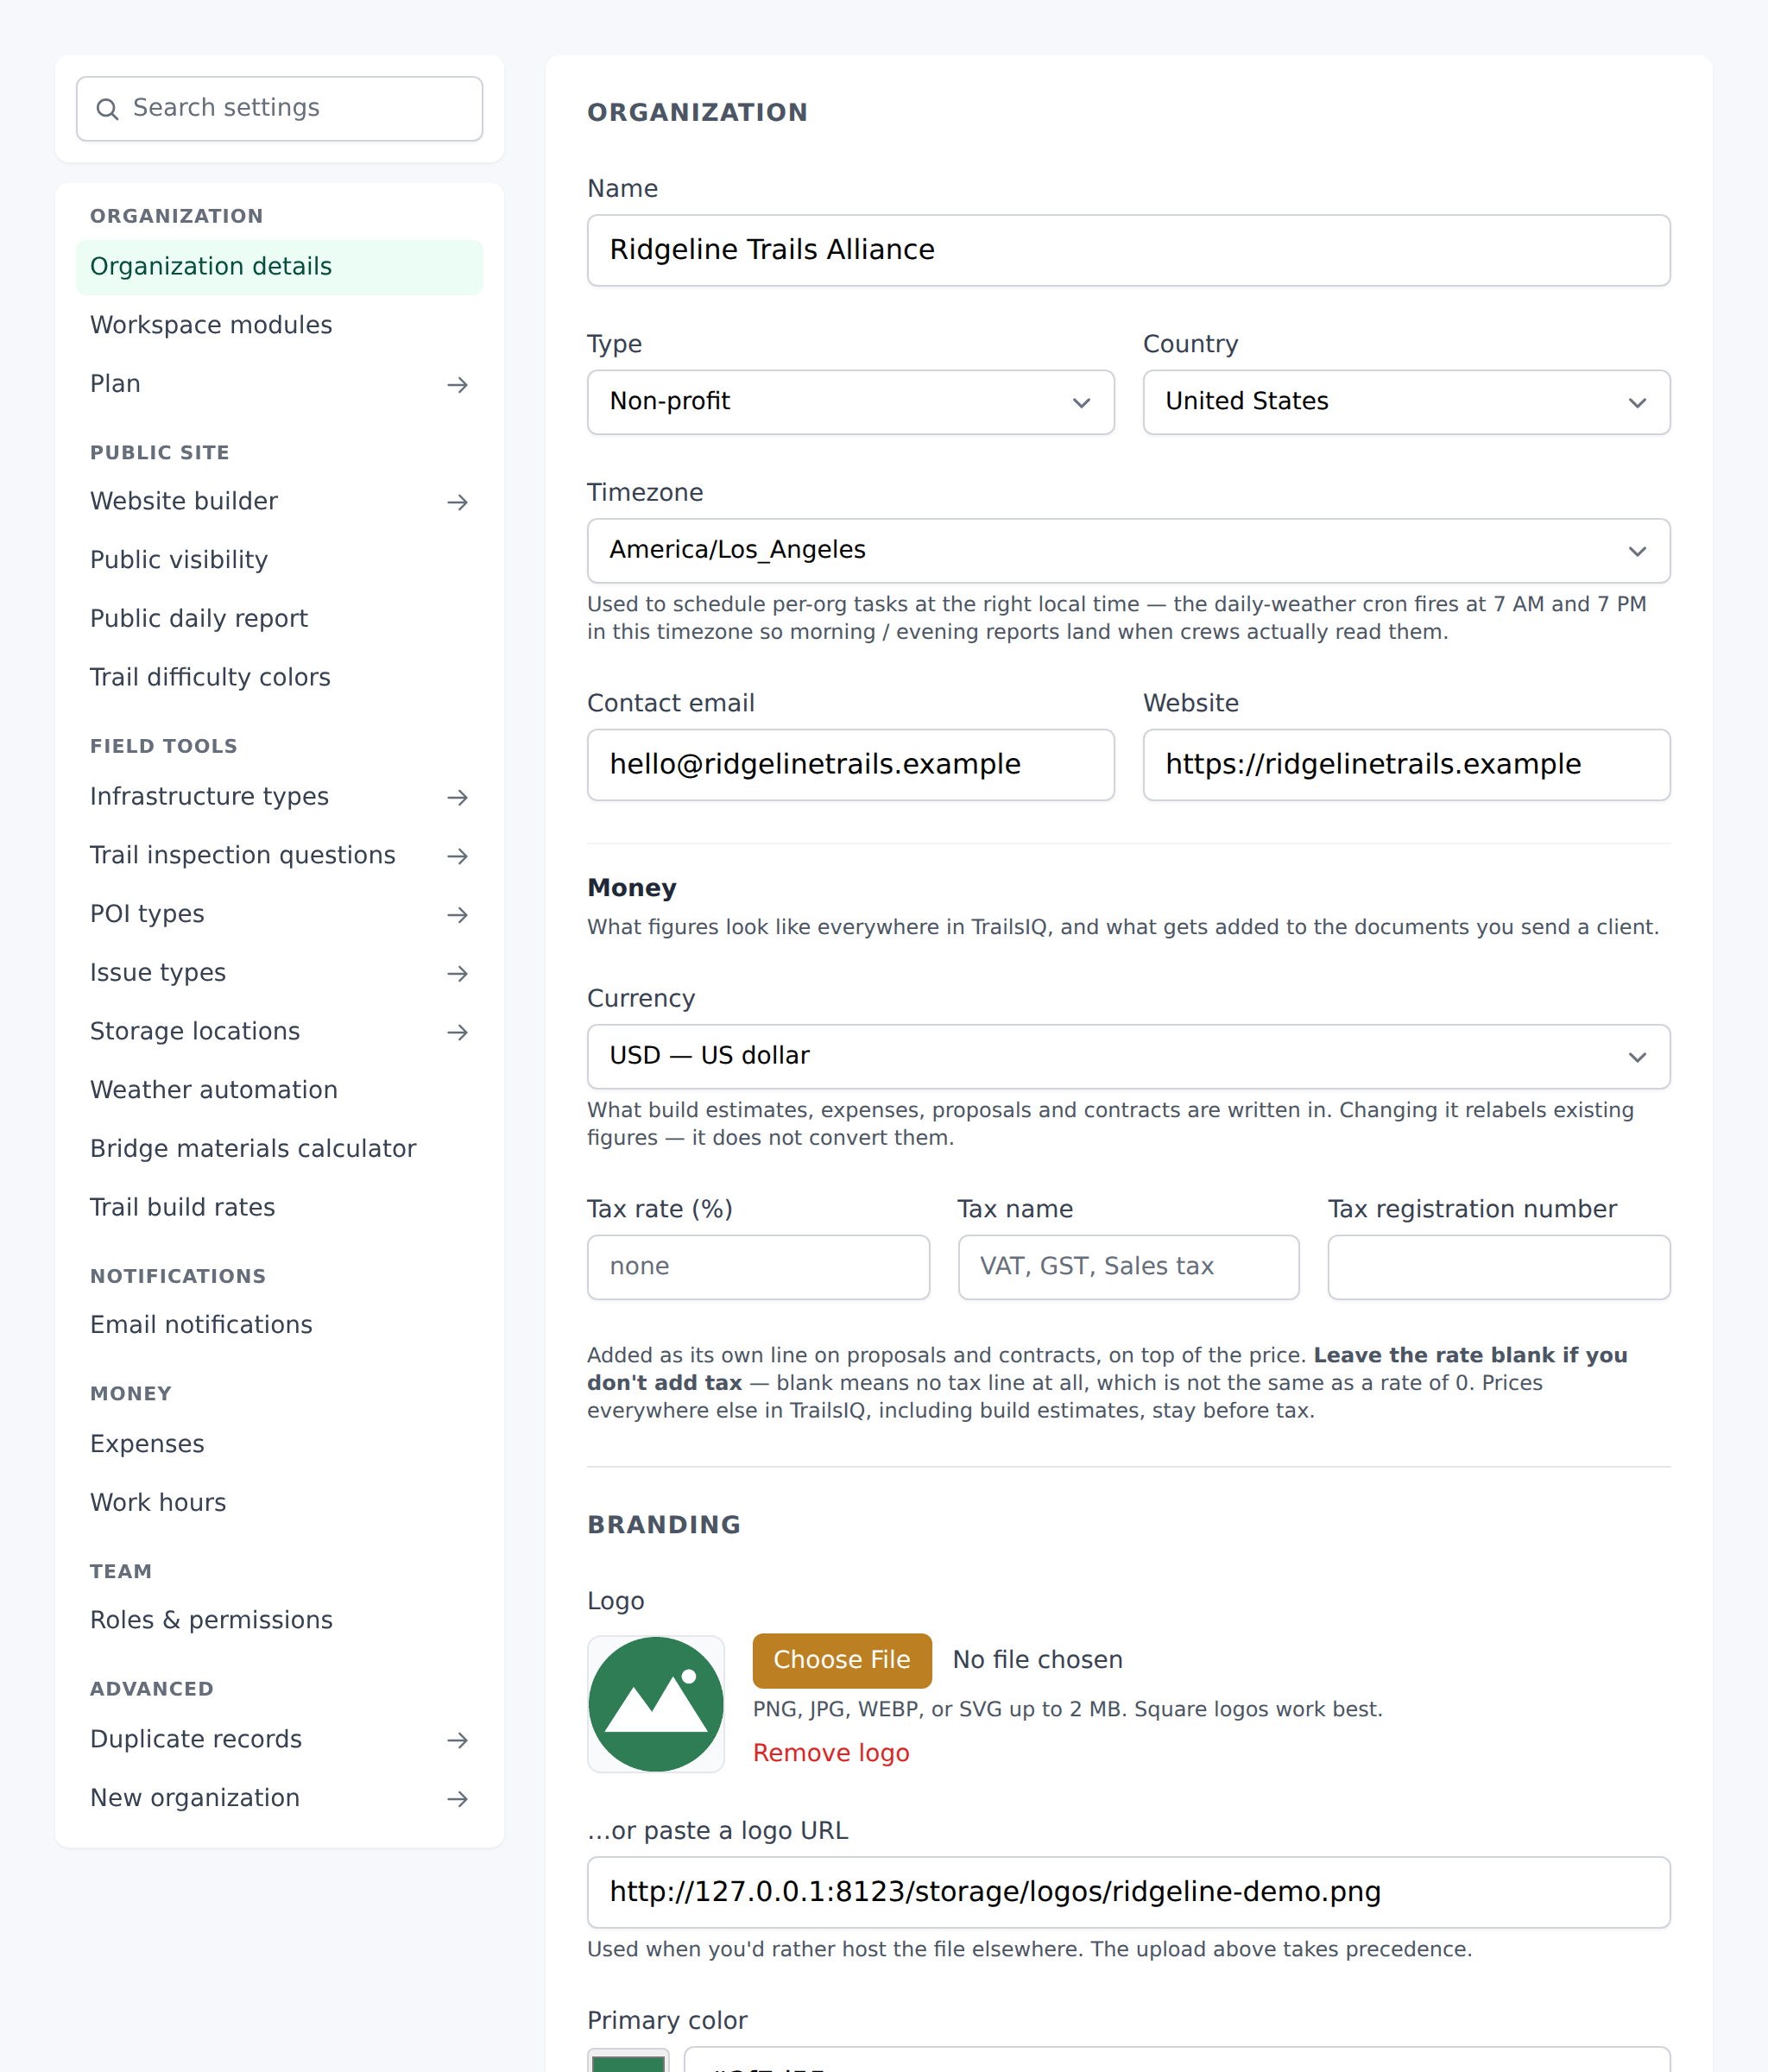
You can add, edit, or delete types at Settings → POI types. Adding a type means it appears in the field-app wizard's type picker on step 1; adding fields to its attribute schema means the wizard shows more inputs on step 4. Each type also has an Icon picker so a custom type (like Bike repair station) can borrow any glyph from the built-in library (Trailhead, Parking, Gate, Shelter, Campsite, Restroom, Water, Viewpoint, Trail map, Hazard, Other) instead of falling through to the generic map-pin.
Creating a POI
Same shape as the Infrastructure flow — there is no dashboard "Create POI" form. Every POI is created through the field-app wizard, either on your phone in the field or via the field app in a browser tab. The Points of Interest index's + New point button opens the field app in a new tab; the field app routes you into a 4-step wizard.
The wizard's four steps:
- Pick a type — grid of your organization's POI types (Trailhead / Viewpoint / Water / etc.). Tapping a type advances.
- Photos — optional, up to 10 files per upload, 5 MB per file. POIs cap out at 20 photos total (oldest rotates off).
- Confirm the spot — GPS auto-locks; drag or tap-to-place if needed.
- Details — the fields below.
Any active member of your organization can create a POI. The + New point button on the dashboard is visible to everyone (unlike the Infrastructure button, which is manager-gated); server-side, the create endpoint requires an active membership.
Every field on the create form
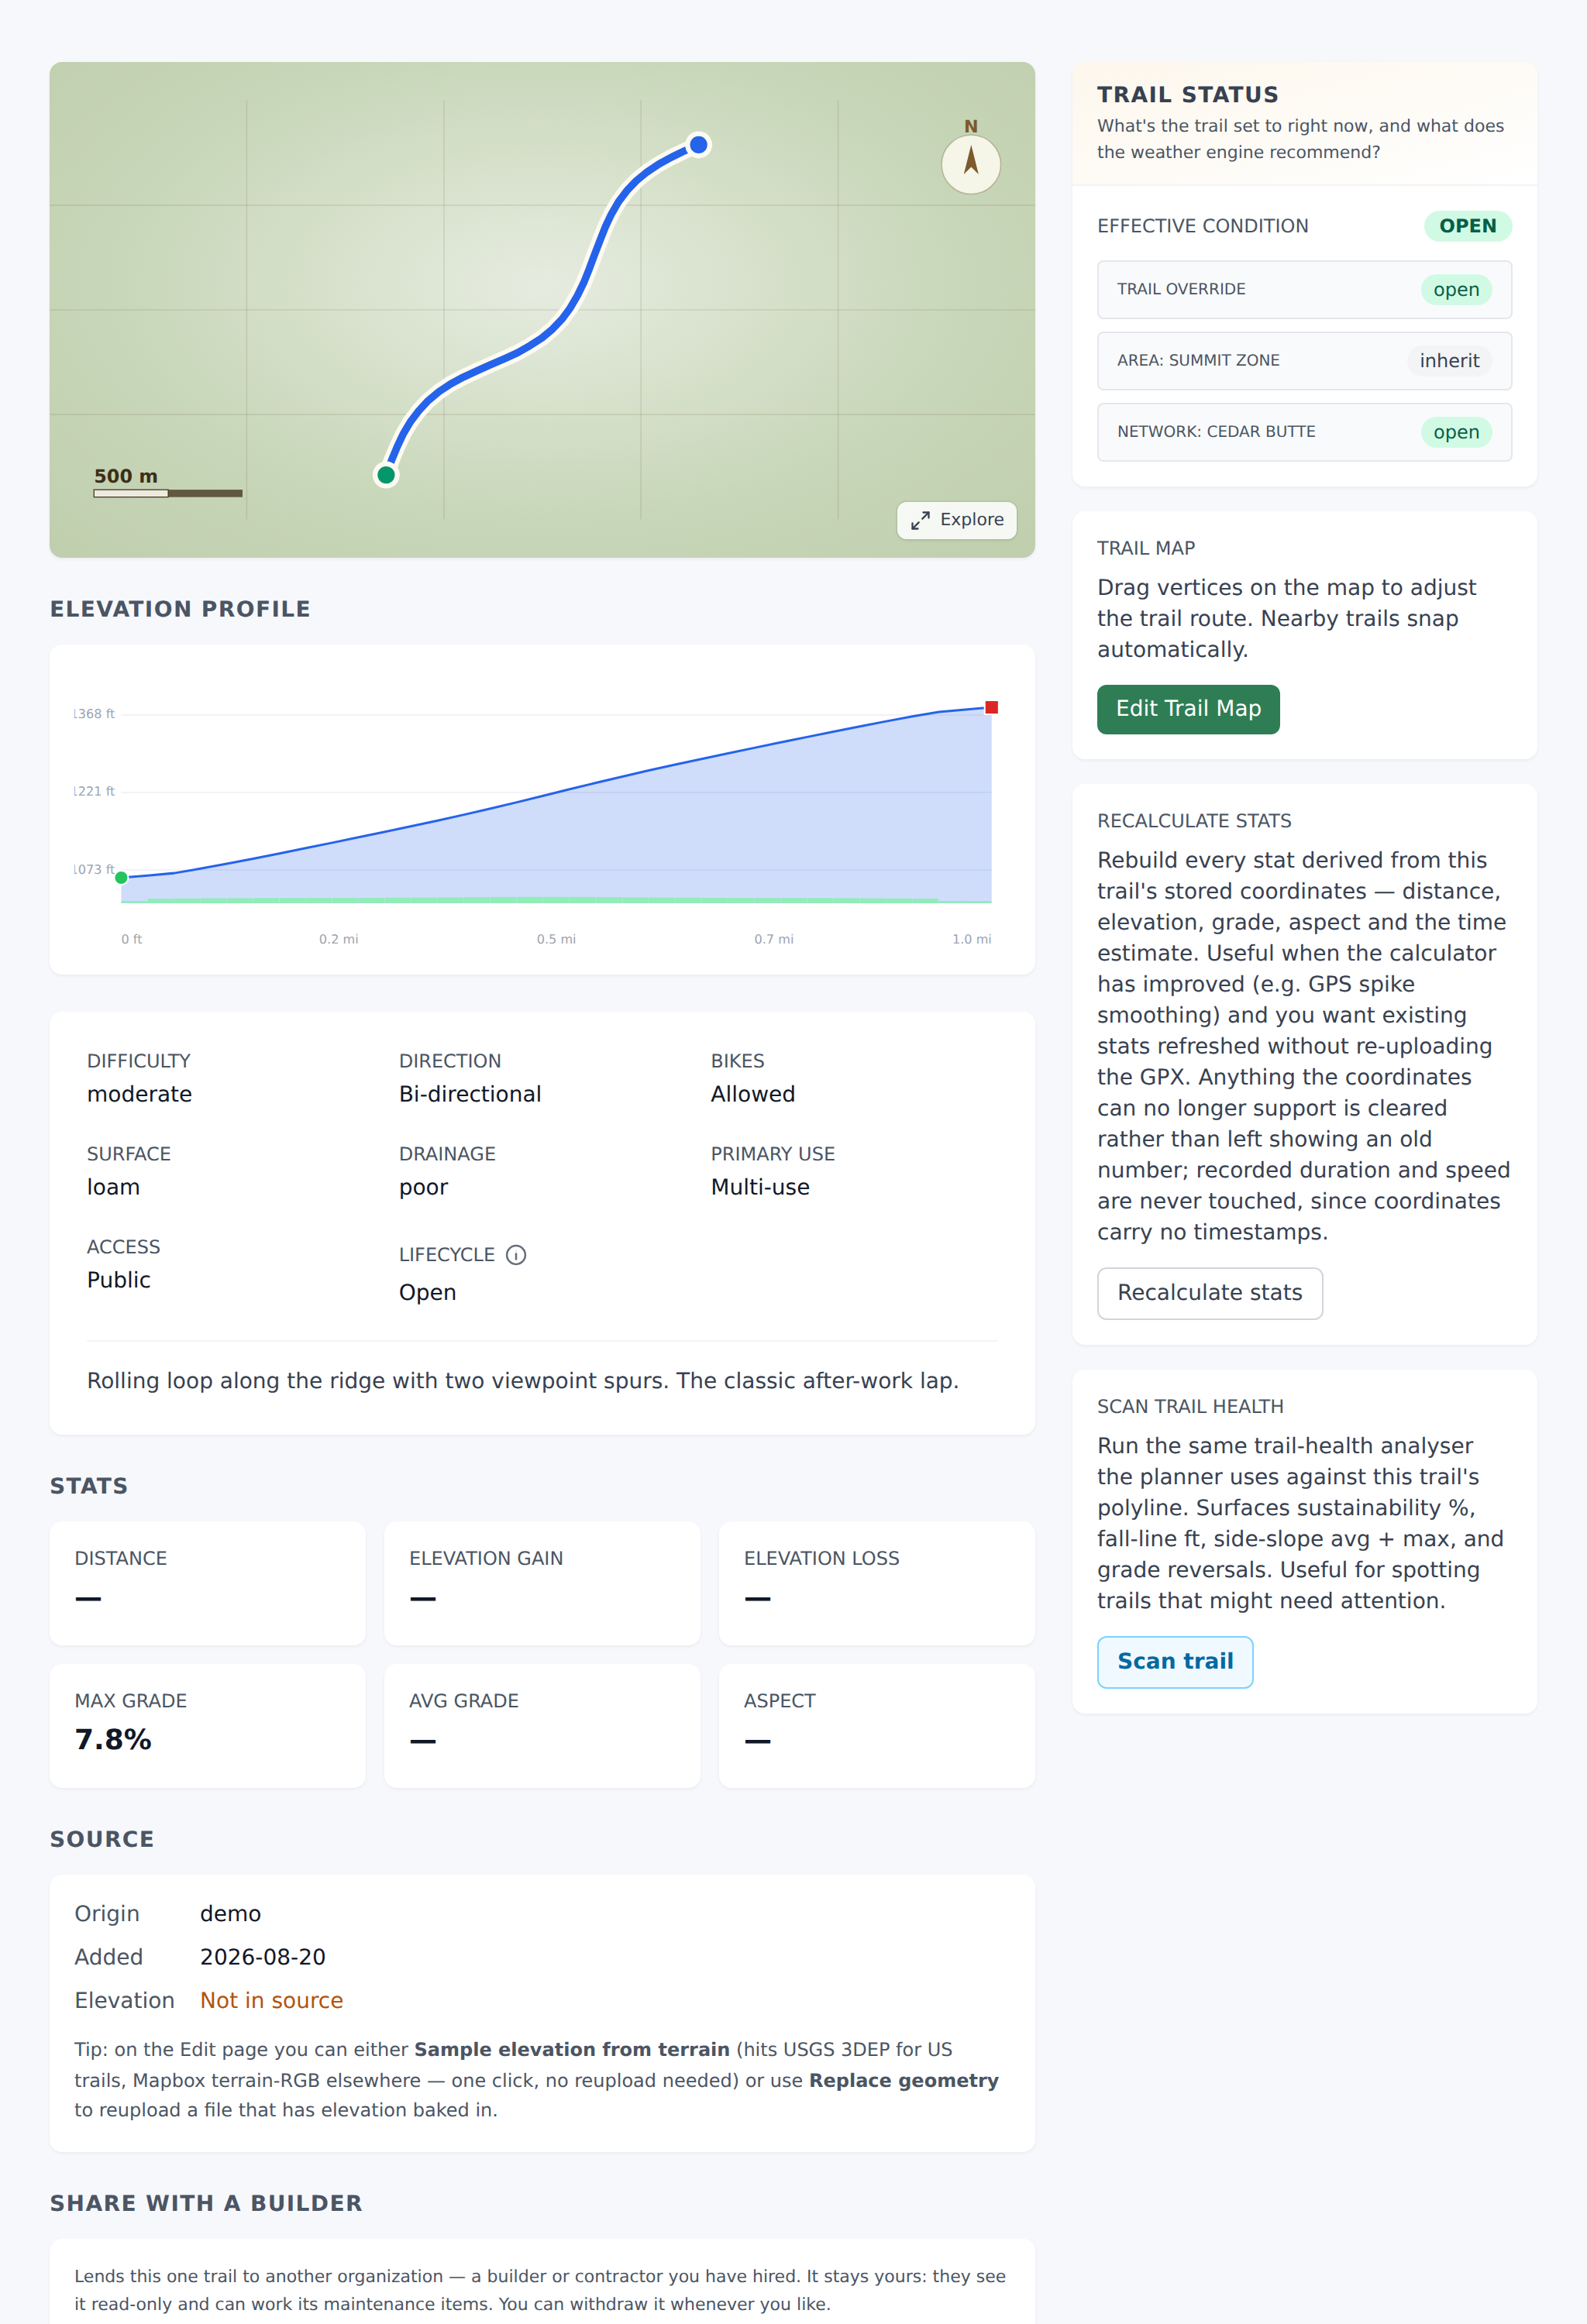
Step 4 fields (verbatim labels):
- Name — required, plain text, max 255 characters. If you leave it blank the wizard blocks the submit with "Give the POI a name." Unlike structures, a POI can't be code-only — the name is what shows on the map label and the trail's Show page.
- Description (optional) — textarea. Longer context: what the viewpoint sees, whether the water source is filtered, whether the lot fills on weekends.
- Per-type custom fields — per the type's attribute schema. See the next section.
Latitude and longitude aren't typed in — they come from step 3 (Confirm the spot). The category is picked on step 1 and shown read-only afterwards. The coordinates have to be real ones, and the category has to be a type your organization actually has: one you added under Settings → Point of interest types, or one of the ten TrailsIQ ships with if you have not customized them yet.
Hit Save to create the POI. It shows up on the Points of Interest index and on any linked trail's Show page immediately.
Type-specific attributes
Each POI type carries its own attribute schema — same idea as structures. Supported field types:
- Text — single-line plain input.
- Textarea — multi-line for longer notes.
- Number — numeric input.
- Date — date picker.
- Select — dropdown with predefined options.
- Checkbox — yes/no toggle.
(POIs don't have the Dimension field type that bridges use — POIs aren't measured in the same way.)
Common uses:
- Water type — a Filtered / Treatment required / Untreated select and a Seasonal checkbox.
- Campsite type — number of tent sites, fire ring yes/no, permit required.
- Parking type — capacity, seasonal accessibility, gravel/paved.
What you enter stays with the point of interest. The dashboard shows the values read-only in the slide panel's Details block; the edit form shows the same fields inline, so a manager can change any of them.
You define the schemas at Settings → POI types → Edit type → Attributes.
Photos and location
Photos. Up to 20 per POI, 10 per upload batch, 5 MB per file, PNG or JPEG. When you upload the 21st, the oldest rotates off. Photos land in the slide panel as a grid; tap any to open the lightbox for a full-size view.
Location. Step 3 of the wizard captures coordinates. Location can come from:
- GPS auto-lock — the app requests your phone's current position and uses that. Fastest path when you're standing on the POI.
- Tap to place — you drop the pin on the map manually. Useful when you're not on-site or the GPS signal is bad.
TrailsIQ remembers which of the two was used, so a later report can tell a point captured on foot from one marked from a desk.
You can move a POI after creation by editing its trail linkage or dragging the pin on the trail's map editor — coordinates aren't fixed in stone, they just need to be inside your organization's map extent to display sensibly.
Viewing and editing a POI
There's no standalone POI show page — every POI opens as a slide-out panel on the Points of Interest index. Clicking a POI card, or hitting a direct URL like /points/{id}, both open the panel with the POI pre-selected.
The slide panel opens with the point's type icon (in the same color as its map marker), its name, and chips for its type and for how it was placed — by GPS or by hand. Below that:
- The description.
- The trail it is on, or Not on a trail, and its coordinates.
- Per-type custom fields, read-only.
- The photo grid. Tap any photo for a full-size view.
Managers see Edit details and Delete along the bottom of the panel. Edit details opens the form in the panel, and Save changes or Cancel replace it until you are done. Editable fields: Name, Type (dropdown — mutable, like structures), Also (tap any other type that also fits; the primary is marked and can't be ticked twice), Trail (with "— None —"), the location, Description, plus per-type custom fields. Field workers see the panel as read-only.
Permission-wise: creating a POI needs an active organization membership. Editing needs the same. Deleting needs owner or manager.
Linkage to trails
A POI can be attached to a trail or stand alone.
- On a trail — pick the trail in the edit form. The POI shows up on the trail's Show page under Points of interest ({{ n }}) with its name, category, description, and location. Empty-state on a trail with no POIs reads "No points of interest on this trail."
- Standalone — leave the Trail dropdown at "— None —". The POI still shows on the Points of Interest index and on the field-app POI list; it just isn't attached to a specific trail.
Delete a trail and its points of interest survive as standalone; they simply lose the link. A point belongs to a network through its trail rather than directly, so one attached to a trail in both Network A and Network B shows up under either.
Visibility — what the public sees
Trailheads and parking are public; every other point is private. A point whose type is Trailhead or Parking, as its primary type or under Also, appears on the public pages of its network, on the map and as a card under Trailheads. The card shows its name, address, parking, the trails that start there, what is on site and directions. A trail starts there when one of its ends is within 75 m (about 250 ft) of the point, or when the point is filed against that trail, so filing a trailhead against its trail is how to list a trail whose line starts further away. It also lists the other types the point is (a trailhead that is also a viewpoint shows Viewpoint) and the types of each piece of infrastructure linked to it under Infrastructure here, its Also types included (a kiosk that is also a trail map shows Kiosk and Trail map). A network that is hidden shows none of it.
Every other point stays in the field app and the dashboard. Your public pages do not show a viewpoint, a gate or a campsite on its own, and there is no switch to publish one. POIs often hold things your organization would rather not publish, such as gates on private land, water sources nobody checks, or campsites that need a permit.
So before you tick another type under Also on a trailhead, or link infrastructure to it, remember that the public card will name it. If you want visitors to know about a point that is not a trailhead, put it in the trail's description or on a page of your website.
Deleting a POI
The Delete button sits at the bottom right of the slide panel. Owner and manager only. Confirmation reads "Remove "{POI name}"?".
What happens on delete:
- The POI row is removed.
- No cascading rows to worry about — POIs have no children (no maintenance items linked to them, no inspection log, no code re-use policy).
- Photos go with the point. Deleting one removes its photographs and stops them counting toward your storage. You do not have to clear them first.
If you want to move a POI out of active use without deleting it, drop its trail linkage and let it sit as standalone. There's no soft-delete for POIs.
Common gotchas
- There is no dashboard "Create POI" form. All POIs are filed via the field-app wizard. The dashboard + New point button opens the field app in a new tab.
- The "+ New point" button is visible to everyone — unlike the Infrastructure equivalent, which is manager-gated on the client side. Server-side, any active member of the organization can create a POI, so the visible button is honest.
- Only trailheads and parking are public. Other points don't show on the public trail or network pages. A trailhead's card does name its other types and the types of its linked infrastructure.
- A point belongs to a network through its trail. Attach it to a trail and it appears under whichever network that trail is in; move the trail and the point moves with it.
- No condition or inspection tracking. POIs don't age like structures — a viewpoint doesn't need a re-inspection. If you need to track the state of something, it's probably a structure.
- The name is required. The wizard blocks a submit with a blank name.
- Deleting a point deletes its photos. They stop counting against your storage at the same moment the point goes.
- Category is mutable. A mis-picked category on creation can be fixed by editing the POI — the map marker's color + icon update automatically.
What's next
- Set up your organization's POI types at Settings → POI types. Add the ones you'll actually use, delete the ones you won't, and configure attribute schemas where they help.
- Read the How to create and edit infrastructure article if you're looking at trailhead kiosks or bridges — those are structures, not POIs.
- Bulk-import POIs from a KML or GPX file isn't supported yet — every POI is filed one at a time through the wizard. Group work is easier with two phones in the field than one browser tab on the desk.