Trails
Import trails — GPX, KML, GeoJSON, and bulk uploads
Bulk-import trails from GPX, KML, or GeoJSON — up to 25 files at once, pre-tagged with difficulty / primary use / networks. Covers what gets set automatically, validation errors, reimporting geometry, and exporting planner recordings into real trails.
Every new TrailsIQ organization has the same first problem: how do I get every trail I already have into the system fast? The answer for most orgs is bulk import — drop up to 25 GPX / KML / GeoJSON files at once, pre-tag them, and watch them land as real trails with distance, elevation, and stats already computed.
What you can import
TrailsIQ accepts three formats:
- GPX (
.gpx) — the standard from Garmin, Strava, Trailforks exports, most handheld GPS units, and any recording app. - KML (
.kml) — Google Earth's native format. - GeoJSON (
.geojsonor.json) — the GIS default; also what a lot of scripting tools output.
That's the whole list. CSV, KMZ, shapefile, TCX, FIT — none of these work. If your source is in one of those formats, convert to GPX first (QGIS, GPSBabel, or gpx.studio all handle this).
Everything is parsed in-house with PHP's standard XML + JSON support. No third-party GPX libraries — which means the parser is strict but predictable.
Getting to the import flow
Owners and managers only. Field workers and volunteers don't see the button.
Two entry points, both landing on the same page:
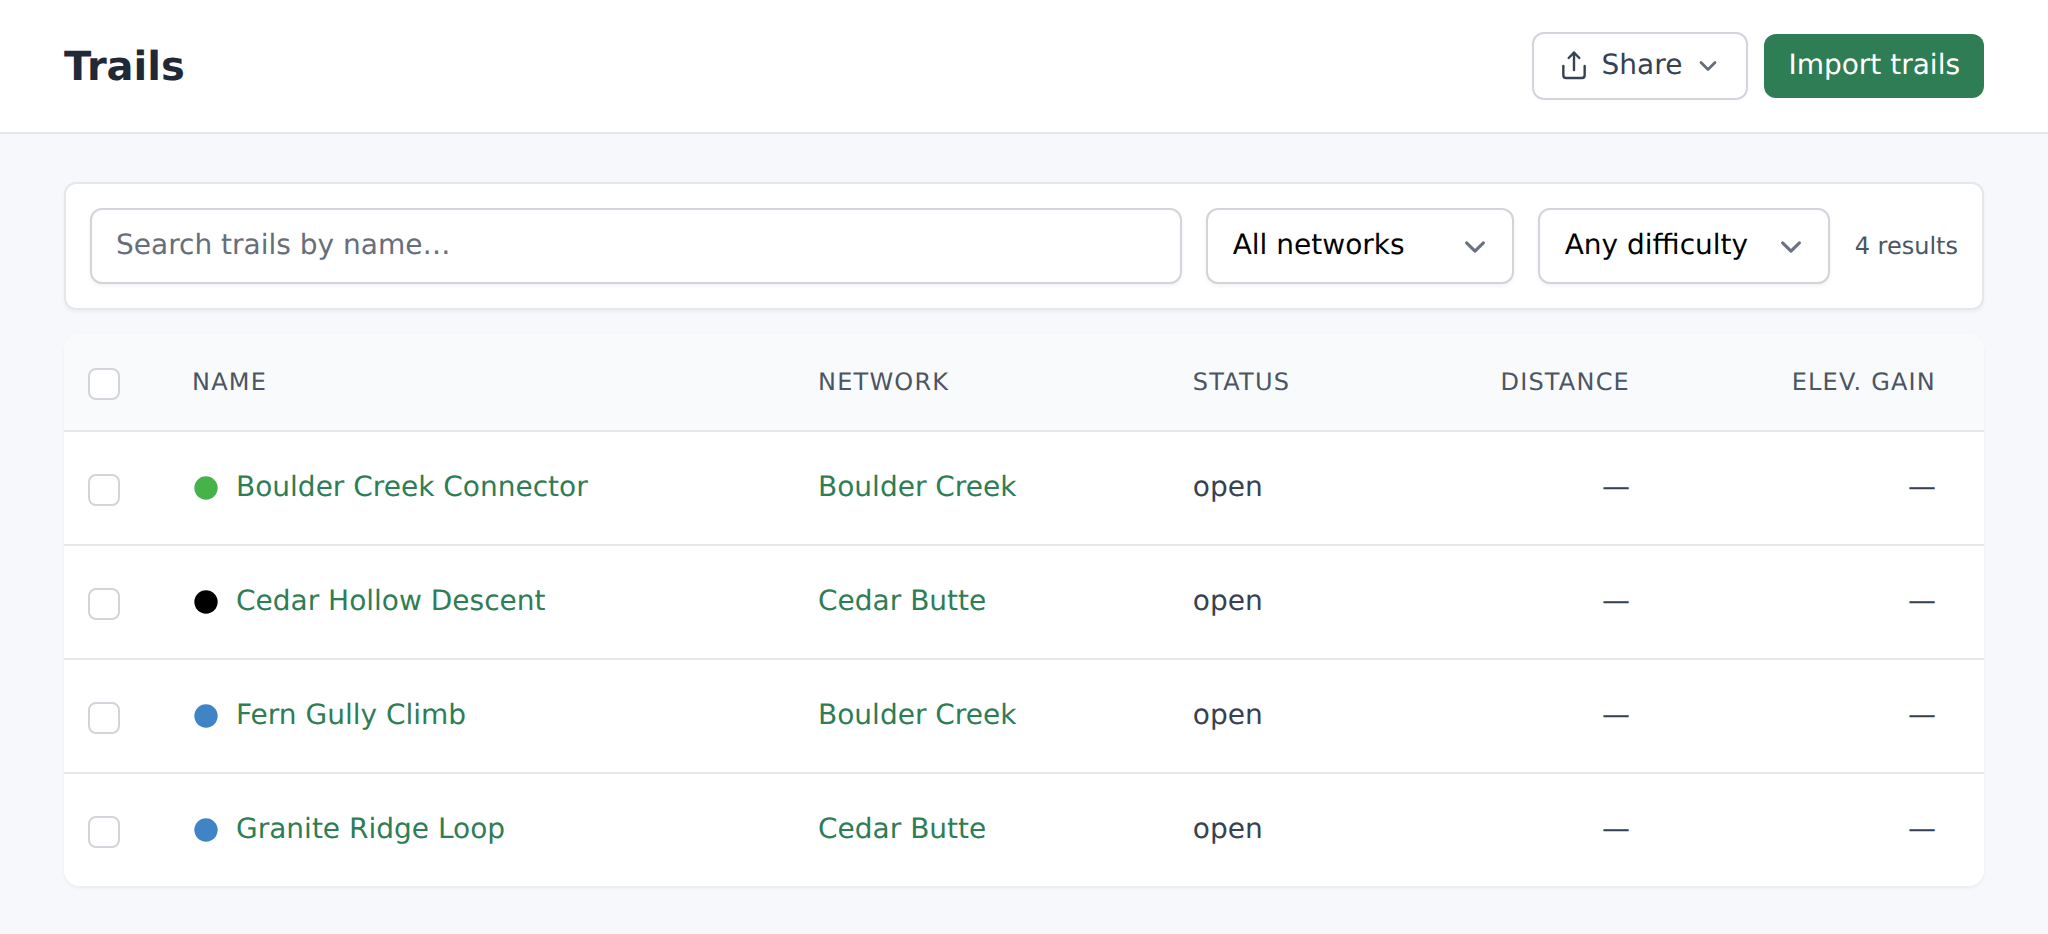
- Top-right button on
/trails— labeled "Import trails". Shows for anyone with manager or owner role. - Empty-state CTA on
/trailswhen the org has no trails yet — same button, more prominent, so a fresh org has an obvious first step.
Both take you to /trails/import. There's no import affordance on the map editor, the trail-show page, or the field app — the file-upload flow lives only here.
Importing files — step by step
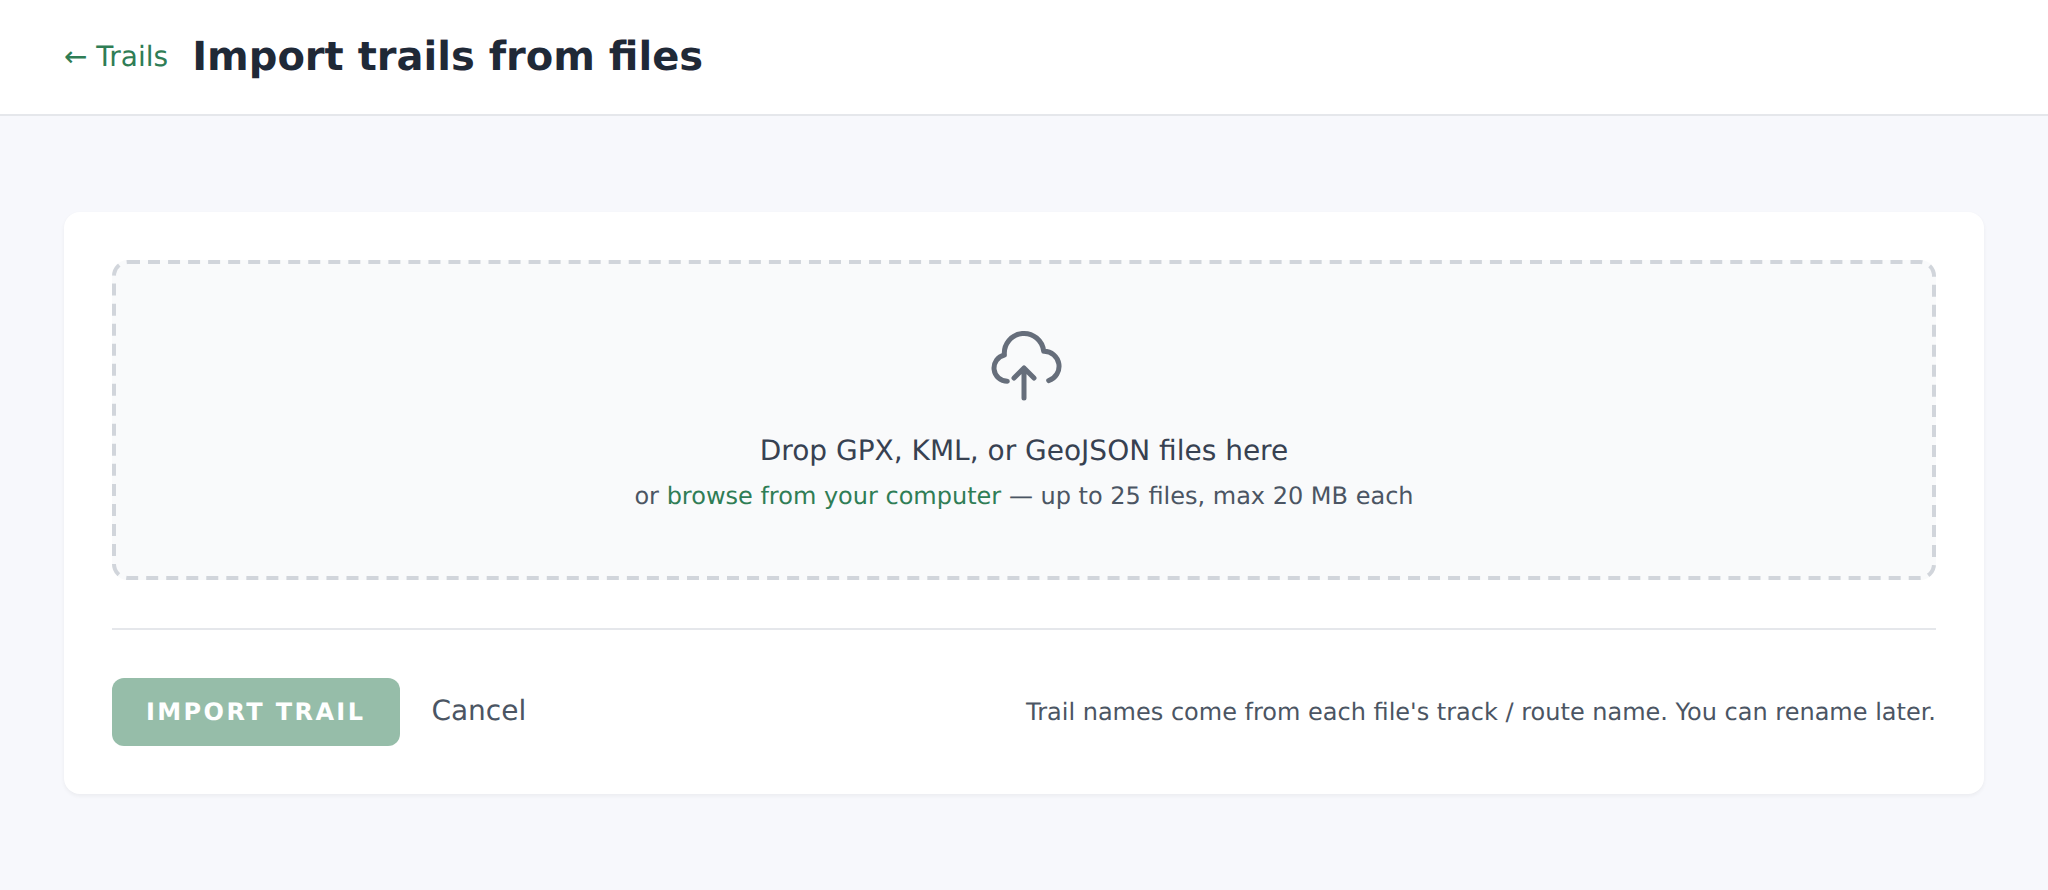
The page is one form. Drop-zone label reads "Drop GPX, KML, or GeoJSON files here" with subtext "or browse from your computer — up to 25 files, max 20 MB each". Drag-and-drop and click-to-browse both work.
- Drop your files. Every file lands as its own row on the page. If you dropped 12 GPXs, you'll see 12 rows. The strip above them summarizes: "{N} file(s) selected · total {size}" with a Clear all button next to it.
- Pre-set fields per file (optional). Every row exposes a small form for the file's future trail: Difficulty, Status, Access, Lifecycle, Primary use, Networks (multi-select chips), and Description. All optional. Fields left as — default — fall through to the trail-table defaults.
- Submit. Button text flips to "Import trail", "Import {N} trails", or "Importing…" depending on the count and state. Footer note reminds you: "Trail names come from each file's track / route name. You can rename later."
- Redirect. A single-file import lands you on the trail's Show page. Multi-file imports land back on
/trails. Flash on success:- Single file: "Trail imported: {name}."
- Batch: "{N} trails imported."
- Mixed success + failure: adds "{N} file(s) skipped: {filename} — {reason}; …" to the flash.
Best-effort batch. A bad file in the middle of a batch doesn't kill the whole run — it's skipped and reported in the flash. If ALL files fail, the page shows the first file's error as an inline validation problem.
What gets set automatically
The importer sets these fields for every trail without asking:
- Name — pulled from the file. Priority: GPX
metadata/name→ GPXtrk/name→ KML Document / Placemark name → GeoJSONnameorfeatures[0].properties.name→ cleaned-up filename (with-and_replaced by spaces). - Slug — auto-generated from the name, appended with
-2,-3if a collision exists. - Coordinates — the raw polyline. GPX + KML pull latitude, longitude, and optional elevation from every track point. GeoJSON accepts
LineStringandMultiLineStringgeometries — Point / Polygon features are silently skipped. - Source — recorded as
import:gpx,import:kml, orimport:geojsonon the trail row so an org auditing "where did this data come from" has a clean answer. - Stats — computed by an in-house calculator from the polyline: distance, elevation gain / loss / min / max / start / end / net / average, average and maximum grade, bbox, start / end coordinates, duration (from timestamps if the GPX had them), average speed, an Naismith-based estimated time, aspect degrees, and an aspect class code (N/NE/E/…). All at once, no follow-up job — they're on the trail the moment the import returns.
A single-pass elevation cleanup runs to catch cold-GPS first-fix spikes: any single point whose grade to both neighbors exceeds 60% while the neighbors agree with each other under 30% gets replaced with the neighbor average. Real steep singletrack is untouched.
Max grade means the steepest 25 m of the trail, measured on smoothed elevations — the same window and the same smoothing the elevation chart on the trail page draws. So a pitch shorter than 25 m reads lower than it feels underfoot: it is averaged with the ground either side of it, and no window length avoids that. What you get is the steepest sustained stretch rather than the steepest single step, which is the number that decides whether a machine can get up there.
Elevation gain and loss are measured over the same 25 m, and that is what makes them the trail's rather than the receiver's. A recorded track has a fix every few meters, and each one carries a little wobble — add up every rise between adjacent fixes and most of what you get is the GPS breathing, not the hill. Totaling in 25 m steps counts each stretch once, for what it actually climbs.
The reason to care is that the number is now the same wherever you read it. A planned trail, that trail published to your network, and the same line exported as GPX and imported back all report one figure — they used to report three, and the tell was that they agreed on the net rise while disagreeing about the gain. If you noted a trail's gain before September 2026 you will see a lower one now. Nothing was lost from the trail; the old figure was counting noise as climb, and the steeper and more carefully recorded the trail, the more of it there was to count.
It used to be the 95th percentile of the grade samples instead, which meant roughly one stretch in twenty on any trail was steeper than the figure labeled Max grade — on a mostly gentle trail with one hard climb out of a creek, a 30% pitch could be reported as 5%. Both the number and the chart above it now measure the same thing, so on trails with a short steep section the max grade will read higher than it did before. Nothing about those trails changed.
Pre-set fields on the import page
These are per-file overrides you can set on the import screen so a bulk drop doesn't need a follow-up edit pass. Every field defaults to — default — meaning "leave the trail-table default".
- Difficulty —
easy / moderate / hard / expert / access / pro. Great when you're dropping a folder of "black diamond runs" so they land pre-tagged. - Status —
public / hidden. Set to hidden if you want to review before publishing. - Access —
''(inherit-from-network) /public / private / pass_required. - Lifecycle —
open / planned / under_construction / closed / decommissioned. Set toplannedif you're pre-loading a season's build list. - Primary use —
mixed / hiking / mtb / gravel / running / equestrian / nordic / alpine / snowshoe / fatbike / atv / snowmobile / walking. This matters — the difficulty icon shape on the map follows Primary use, not Difficulty. Set it here or you'll get plain circles instead of IMBA diamonds / squares. - Description — free-text. Skip on bulk; add later on the trail's Edit page.
- Networks — multi-select chips. Attach the trail to one or more of your existing networks in the same submit.
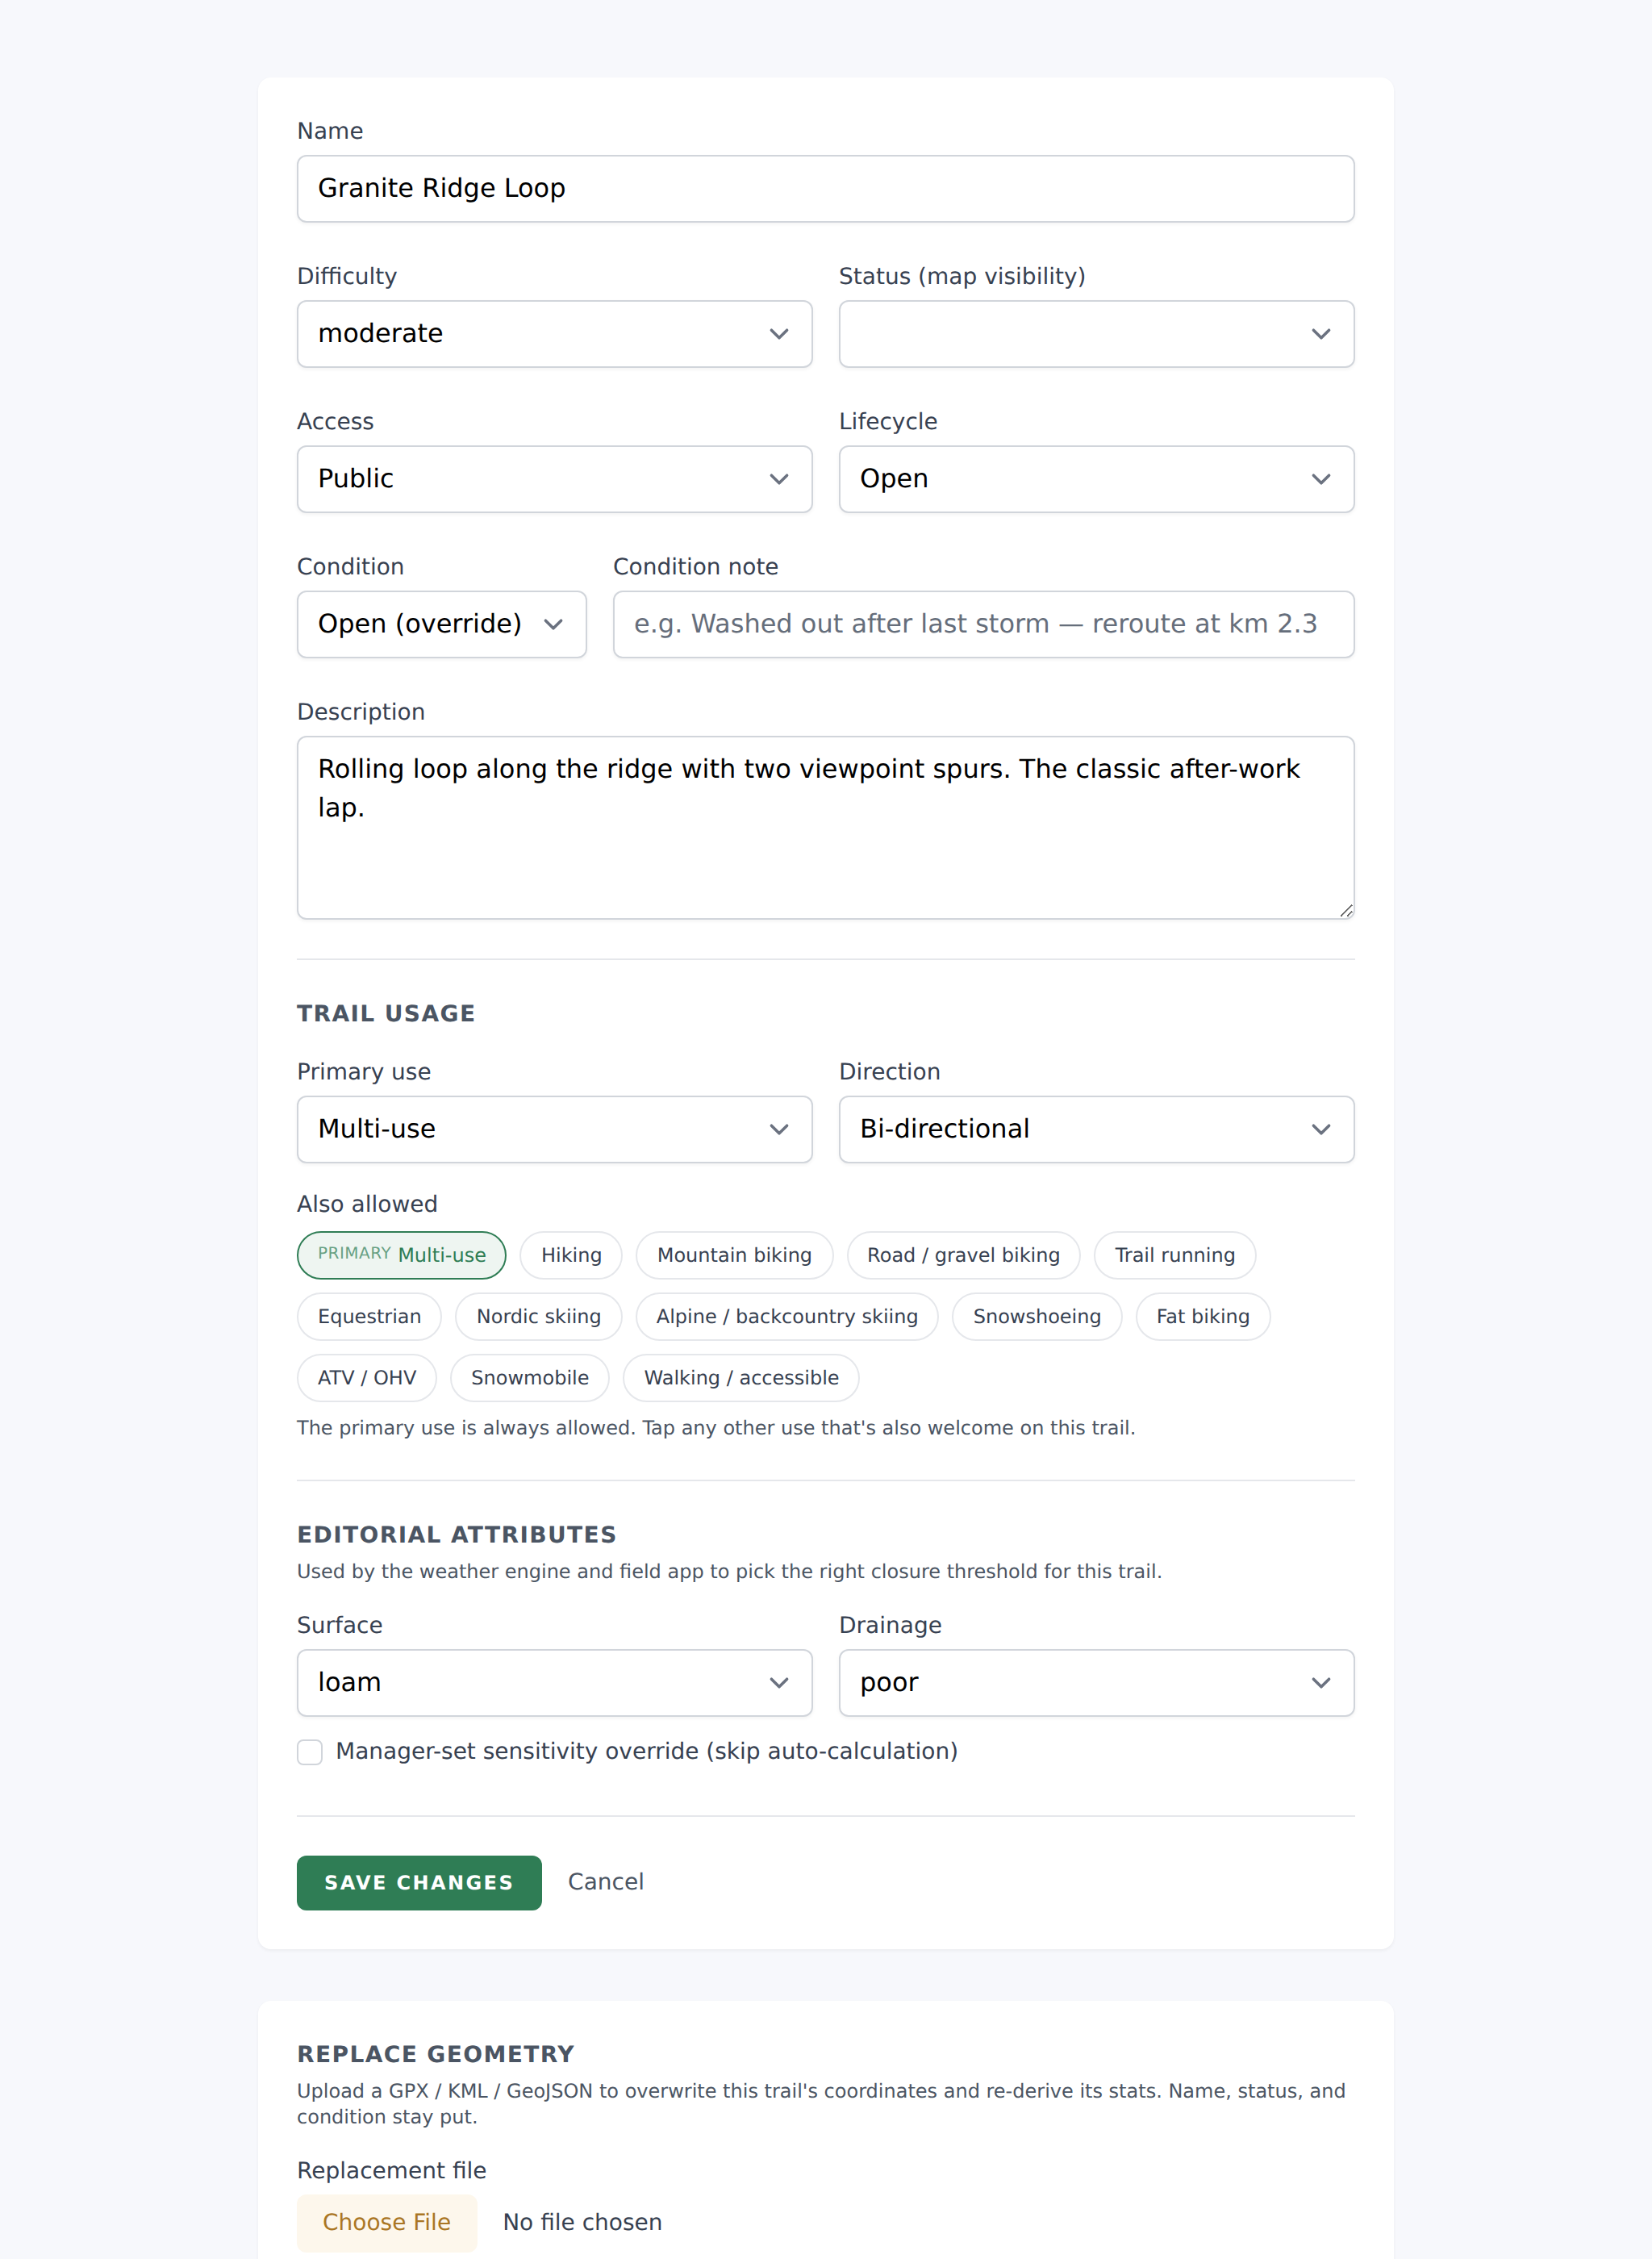
Everything not on the import page — surface, drainage, direction, allowed uses, e-bike toggles, condition + condition note, color override, sensitivity override — is a follow-up edit on the trail's Edit page.
Elevation & terrain sampling
The importer trusts the elevation in your file. Whatever your GPS or software wrote to <ele> (GPX) or the third coordinate (KML / GeoJSON) is what lands on the trail. A single spike-smoothing pass runs to catch obvious junk, but no DEM (Digital Elevation Model) resampling runs automatically on the import path.
If your source elevation is bad (or missing entirely — a common problem with old handhelds or a GPX pasted through a converter that dropped elevation), the trail's stats will reflect that. You have four options:
- Sample elevation from the terrain (one-click fix). On the trail's Edit page there's a Sample elevation from terrain button. It hits the platform's DEM — USGS 3DEP for US trails (~10 m accuracy), Mapbox terrain-RGB elsewhere (~30 m) — for every coord on the trail, writes the elevations back into the stored geometry, and recalculates gain / loss / grade. No reupload needed. Works worldwide. Overwrites any existing elevation on the trail, so use with intent when you already have good GPS elevations.
- Reimport with a better source file — the Replace geometry section on the same Edit page (see Reimporting geometry below).
- Re-record the trail in the field using the field-app planner. Planner recordings automatically get DEM resampling when your org has terrain resampling enabled (Settings → Terrain).
- Live with it. For many public-facing trails, elevation on the map is close enough; the exact gain number matters more to the operator than to the visitor.
DEM accuracy notes: 5-15 m vertical error on open terrain, 10-30 m under dense canopy (the DEM can read treetops), worst on cliffs or narrow canyons. For a typical hiking or MTB trail in an open landscape the DEM-sampled numbers are indistinguishable from a good GPS recording.
Common validation errors
Every error surfaces on the import page above the drop zone. The most common:
- "File too large. Maximum is 20 MB." — Cut the file into segments (most GPS software supports "split track"), or drop the file into gpx.studio and re-export with fewer points.
- "Only .gpx, .kml and .geojson files are accepted." — Converted your source? Make sure the extension matches.
.kmzis not accepted — extract the KML inside first. - "File content does not match its extension." — A GPX renamed to
.geojson(or vice versa) will trip the MIME sniff. Rename to match the actual content. - "File contains too many entity definitions." — A billion-laughs XML-bomb guard. If you didn't paste one deliberately, re-export from your source software cleanly.
- "Invalid GPX file: {libxml error}" or "Invalid KML file: …" — Malformed XML. Open in a text editor and check for a truncated file or a wrong header.
- "No track points found in this GPX file." — Your GPX has waypoints but no tracks. Import waypoints as POIs via the Field App instead.
- "No LineString track found in this KML file." / "No track points found in this KML file." — KML with only points or polygons. Not a track; can't import as a trail.
- "Invalid GeoJSON file." — Malformed JSON, or GeoJSON with only Point / Polygon features and no LineString.
- "GeoJSON file has fewer than 2 coordinates." — A degenerate LineString. Every trail needs at least two coordinate pairs.
- Plan-limit error — mid-batch, the importer stops when the org hits its plan trail cap and reports how many made it in. Upgrade in Billing to keep going.
No duplicate detection. Importing the same GPX twice creates two identical trails (with -2 appended to the second slug). Delete duplicates from /trails if you catch one after the fact.
No coordinate bounds check — a trail with a stray (0, 0) point survives; the (0, 0) fix gets dropped, but a mostly-in-Nebraska trail with one point in the Gulf of Guinea imports as-is. Sanity-check obviously wonky files before dropping them.
Reimporting geometry over an existing trail
If you re-surveyed a trail (better GPS unit, corrected re-route, a member submitted a cleaner track), you can replace geometry on an existing trail without deleting and re-creating it.
On the trail's Edit page there's a section headed "Replace geometry" with the copy: "Upload a GPX / KML / GeoJSON to overwrite this trail's coordinates and re-derive its stats. Name, status, and condition stay put."
Drop the new file into that block and hit Reimport geometry. Everything downstream re-computes: distance, elevation, grade, bbox. The trail's name, description, difficulty, primary use, networks, condition state — all preserved.
Linked items snap to the new polyline. Every maintenance issue, structure, and POI attached to this trail gets its map position re-snapped to the nearest point on the new geometry. So a bridge that was pinned to km 3 on the old survey lands at whatever point on the new survey is closest to that old lat/lng. Occasionally you'll need to nudge a few by hand if the re-route is dramatic, but the auto-snap handles the common case.
Converting a planner recording into a trail
Sometimes the "import" you need isn't a file — it's the trail you just recorded with the field-app planner. Two entry points:
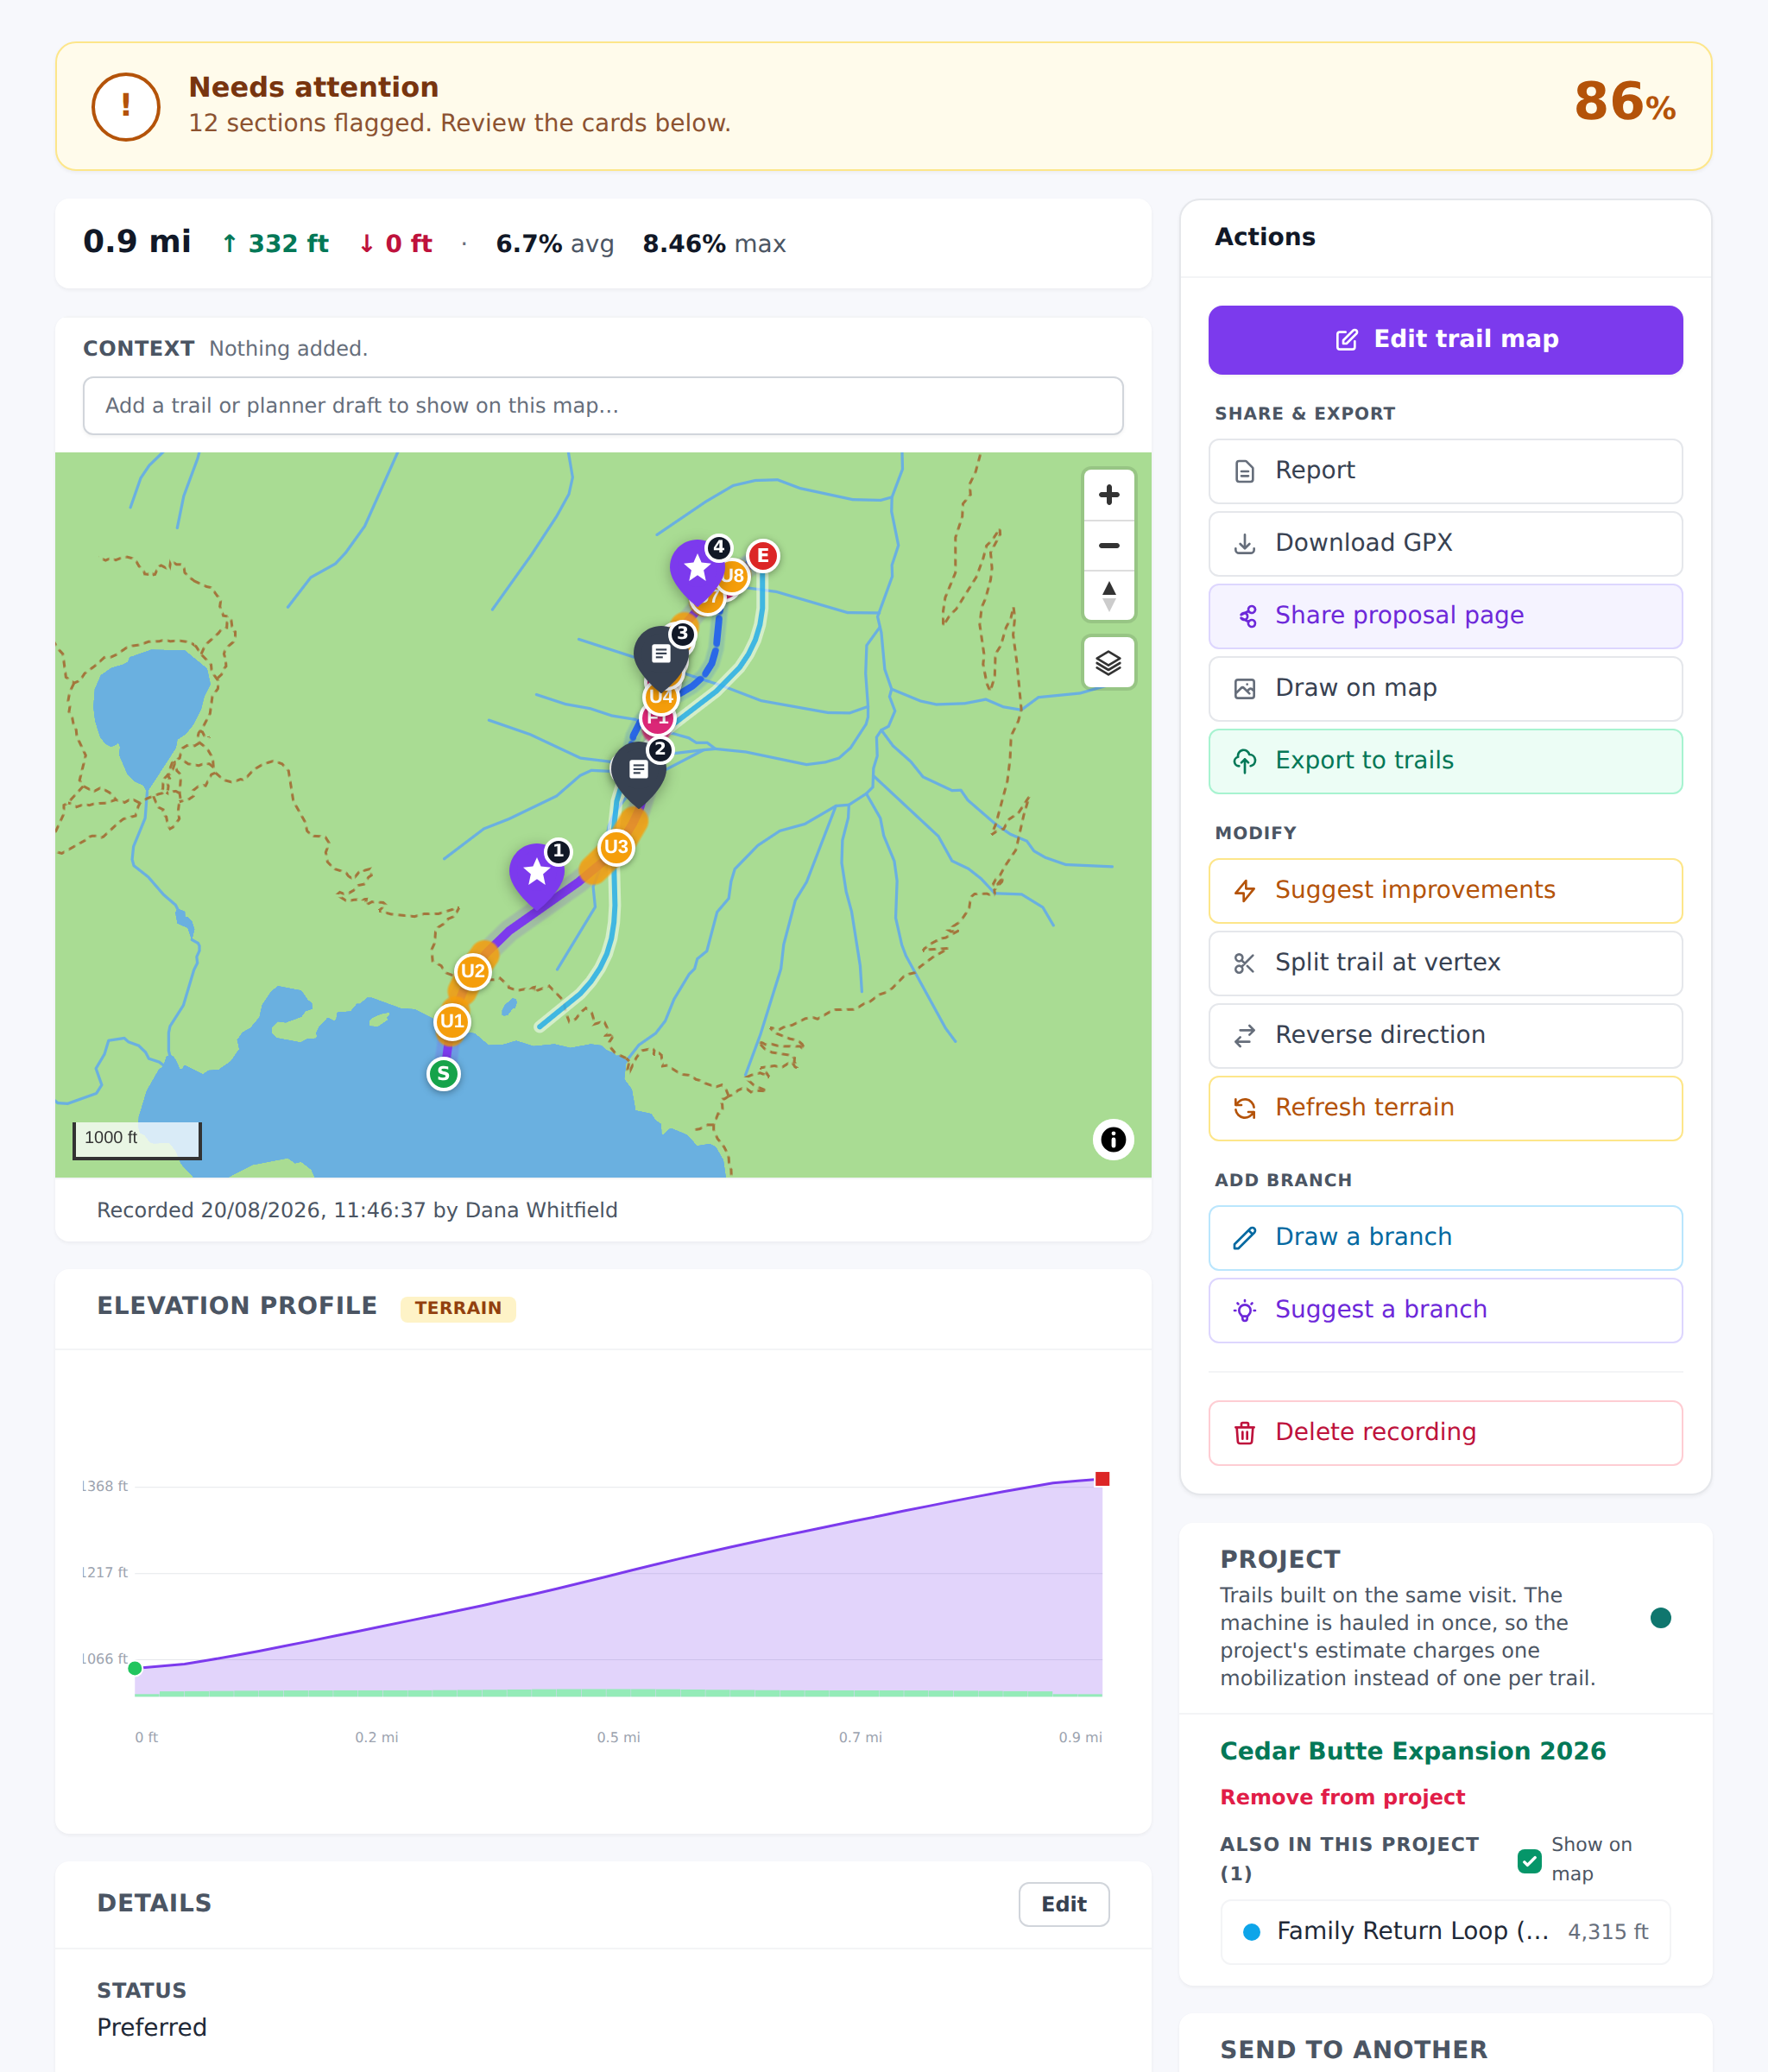
- Dashboard — open the planner recording's Show page. Green Export to trails button in the actions row.
- Field app — inside the planner recording detail sheet. Same green button, same confirm copy.
The confirmation asks about attached features (waypoints you dropped during recording that would become structures or POIs):
- With features: "Publish this trail to the trails tab and create {N} infrastructure / POI record(s) from the feature waypoints?"
- Without: "Publish this trail to the trails tab? No catalogued features will be created (none were chosen)."
Say yes and the trail lands with status='draft' and source='planner'. Feature waypoints materialise into Structures + POIs on their own map pins. Hazard / decision / note waypoints stay with the recording and don't get promoted — they're field notes, not catalogued objects.
Branch lineage carries over. If your planner recording is a branch of another trail (parent → alternate / reroute / spur), the exported trail retains the parent link and branch kind, so the map still shows the family relationship.
Post-export, the planner recording's Show page changes: instead of the Export to trails button, it reads "Already exported. Published to the trails tab on {date}." with an "Open trail →" link.
Common gotchas
- Difficulty icon shape follows Primary use, not Difficulty. Set Primary use on the import page or your imports get plain circles.
- Trail names come from the file, not the filename. A GPX with no
<name>element imports as the cleaned-up filename ("silver-fox-loop.gpx" → "silver fox loop"). If you see a trail called "Untitled" after import, the file had no name tag — just rename it on the Edit page. - The importer trusts your file's elevation. No DEM resampling runs automatically on file imports — you'll get whatever elevation values the file itself carried. If the file was missing elevation, click Sample elevation from terrain on the trail's Edit page to fill it in from the DEM. Planner recordings get DEM resampling automatically when your org has terrain resampling enabled (Settings → Terrain).
.kmzis not accepted — extract the KML inside first. KMZ is a ZIP wrapper Google Earth uses to bundle icons + KML; the platform only reads the raw KML..tcx/.fitfrom Garmin fitness devices aren't accepted either. Export to GPX from the device's software or from Strava first.- A GPX with waypoints but no tracks fails. Waypoints are POIs, not trails — the field app has a POI drop flow for that.
- A KML with only Placemarks (points) fails with "No LineString track found in this KML file." — you need a
<LineString>geometry, not<Point>. - Batch stops on plan limit. If you drop 25 files and your org's trail cap allows 20 more, the first 20 import and the rest are skipped with a plan-limit flash. Upgrade in Billing to finish.
- Reimport preserves everything but geometry. Name, difficulty, status, condition, and every linked object survives. It's the safe way to update a re-surveyed trail.
- No CSV import. If your source is a CSV of (name, difficulty, lat/lng/ele triples), convert to GPX first — QGIS + a small script handles it, or write a one-off in whatever language your data lives in.
What's next
- Start with your five or ten most-used trails so the map has recognisable landmarks. Do the long-tail later.
- Once the first batch is in, walk through
/trailsand confirm each imported trail sits on the map where you expected. Any that don't → re-survey with the field app. - Read the How to create a trail article for a full field-by-field walkthrough of the Trail edit page — the settings the import page doesn't expose (surface, drainage, e-bike toggles, color) all live there.
- Set up your organization's networks before a big import so the Networks chip on the import page has options to attach to. See the How to create a network article.