Infrastructure
How to create and edit infrastructure
Structures — bridges, kiosks, signs, counters — are filed from the field app and edited from the dashboard slide panel. Covers all six default structure types, per-type attributes, the bridge materials calculator, inspection tracking, and the delete behavior.
Infrastructure — internally called structures — is anything on the trail that isn't the trail itself: a bridge, a stair set, a kiosk, a trailhead sign, a trail-map board, a counter. Every structure carries its own coordinates, a condition, inspection dates, and photos, and can be attached to a trail (or stand alone before a trail exists).
What is a structure?
A structure is a permanent (or semi-permanent) built object on the trail. Every structure has a unique auto-generated code (e.g. BR-0001 for the first bridge), a name, a type, coordinates, an installer, an install date, an inspection cadence, a condition, photos, per-type technical attributes, and an optional link to a trail or network.
Structures are private to your organization — they show up on the dashboard and the field app, but not on the public trail pages or the public map. If you want to publish a specific structure to the outside world (say, an interpretive sign someone can look up), that's a documentation-side effort, not a settings toggle.
The URL segment stays /structures, but the whole UI (sidebar entry, page header, empty-state copy, section titles on trail pages) reads Infrastructure. Same concept, different label.
Structure types and categories
Every structure has one primary type. The primary type controls:
- The name shown in the UI ("Bridge", "Kiosk", "Trail Counter").
- The prefix used to auto-generate the structure code (
BRfor Bridge →BR-0001,BR-0002;KI-for Kiosk; and so on). - The inspection interval (in months) — how often the next inspection is due.
- The category the type belongs to: Built structures, Signage & Navigation, Monitoring, Amenities, or Trail features.
- The per-type attribute schema — which extra fields the wizard shows (e.g. span length for a bridge, sign height for a signpost).
A structure can also be other types at the same time. A kiosk often carries a trail map, and a gate can hold a sign. Tick those under Also when you edit the structure, on the dashboard or in the field app. The structure then shows up under every one of its types: in the type and category filters and their counts, in exports, and on a seasonal checklist that goes round every structure of a type. Its code, icon, extra fields and inspection still come from the primary type.
A structure can also belong to a place. A kiosk at a trailhead is linked from the trailhead's point of interest (see How to create and edit points of interest), and the structure's panel then shows the trailhead under Part of.
Every structure's panel, on the dashboard and in the field app, says when it was added and who added it, for example Added Oct 7, 2026 by Sam Rivera. Infrastructure added before October 2026, or brought in by an import, shows only the date.
Every fresh organization ships with six default types:
| Type | Prefix | Category | Default inspection |
|---|---|---|---|
| Bridge | BR | built | 12 months |
| Stairs | ST | built | 12 months |
| Sign | SI | signage | 24 months |
| Kiosk | KI | signage | 24 months |
| Trail Map | TM | signage | 24 months |
| Trail Counter | TC | monitoring | 6 months |
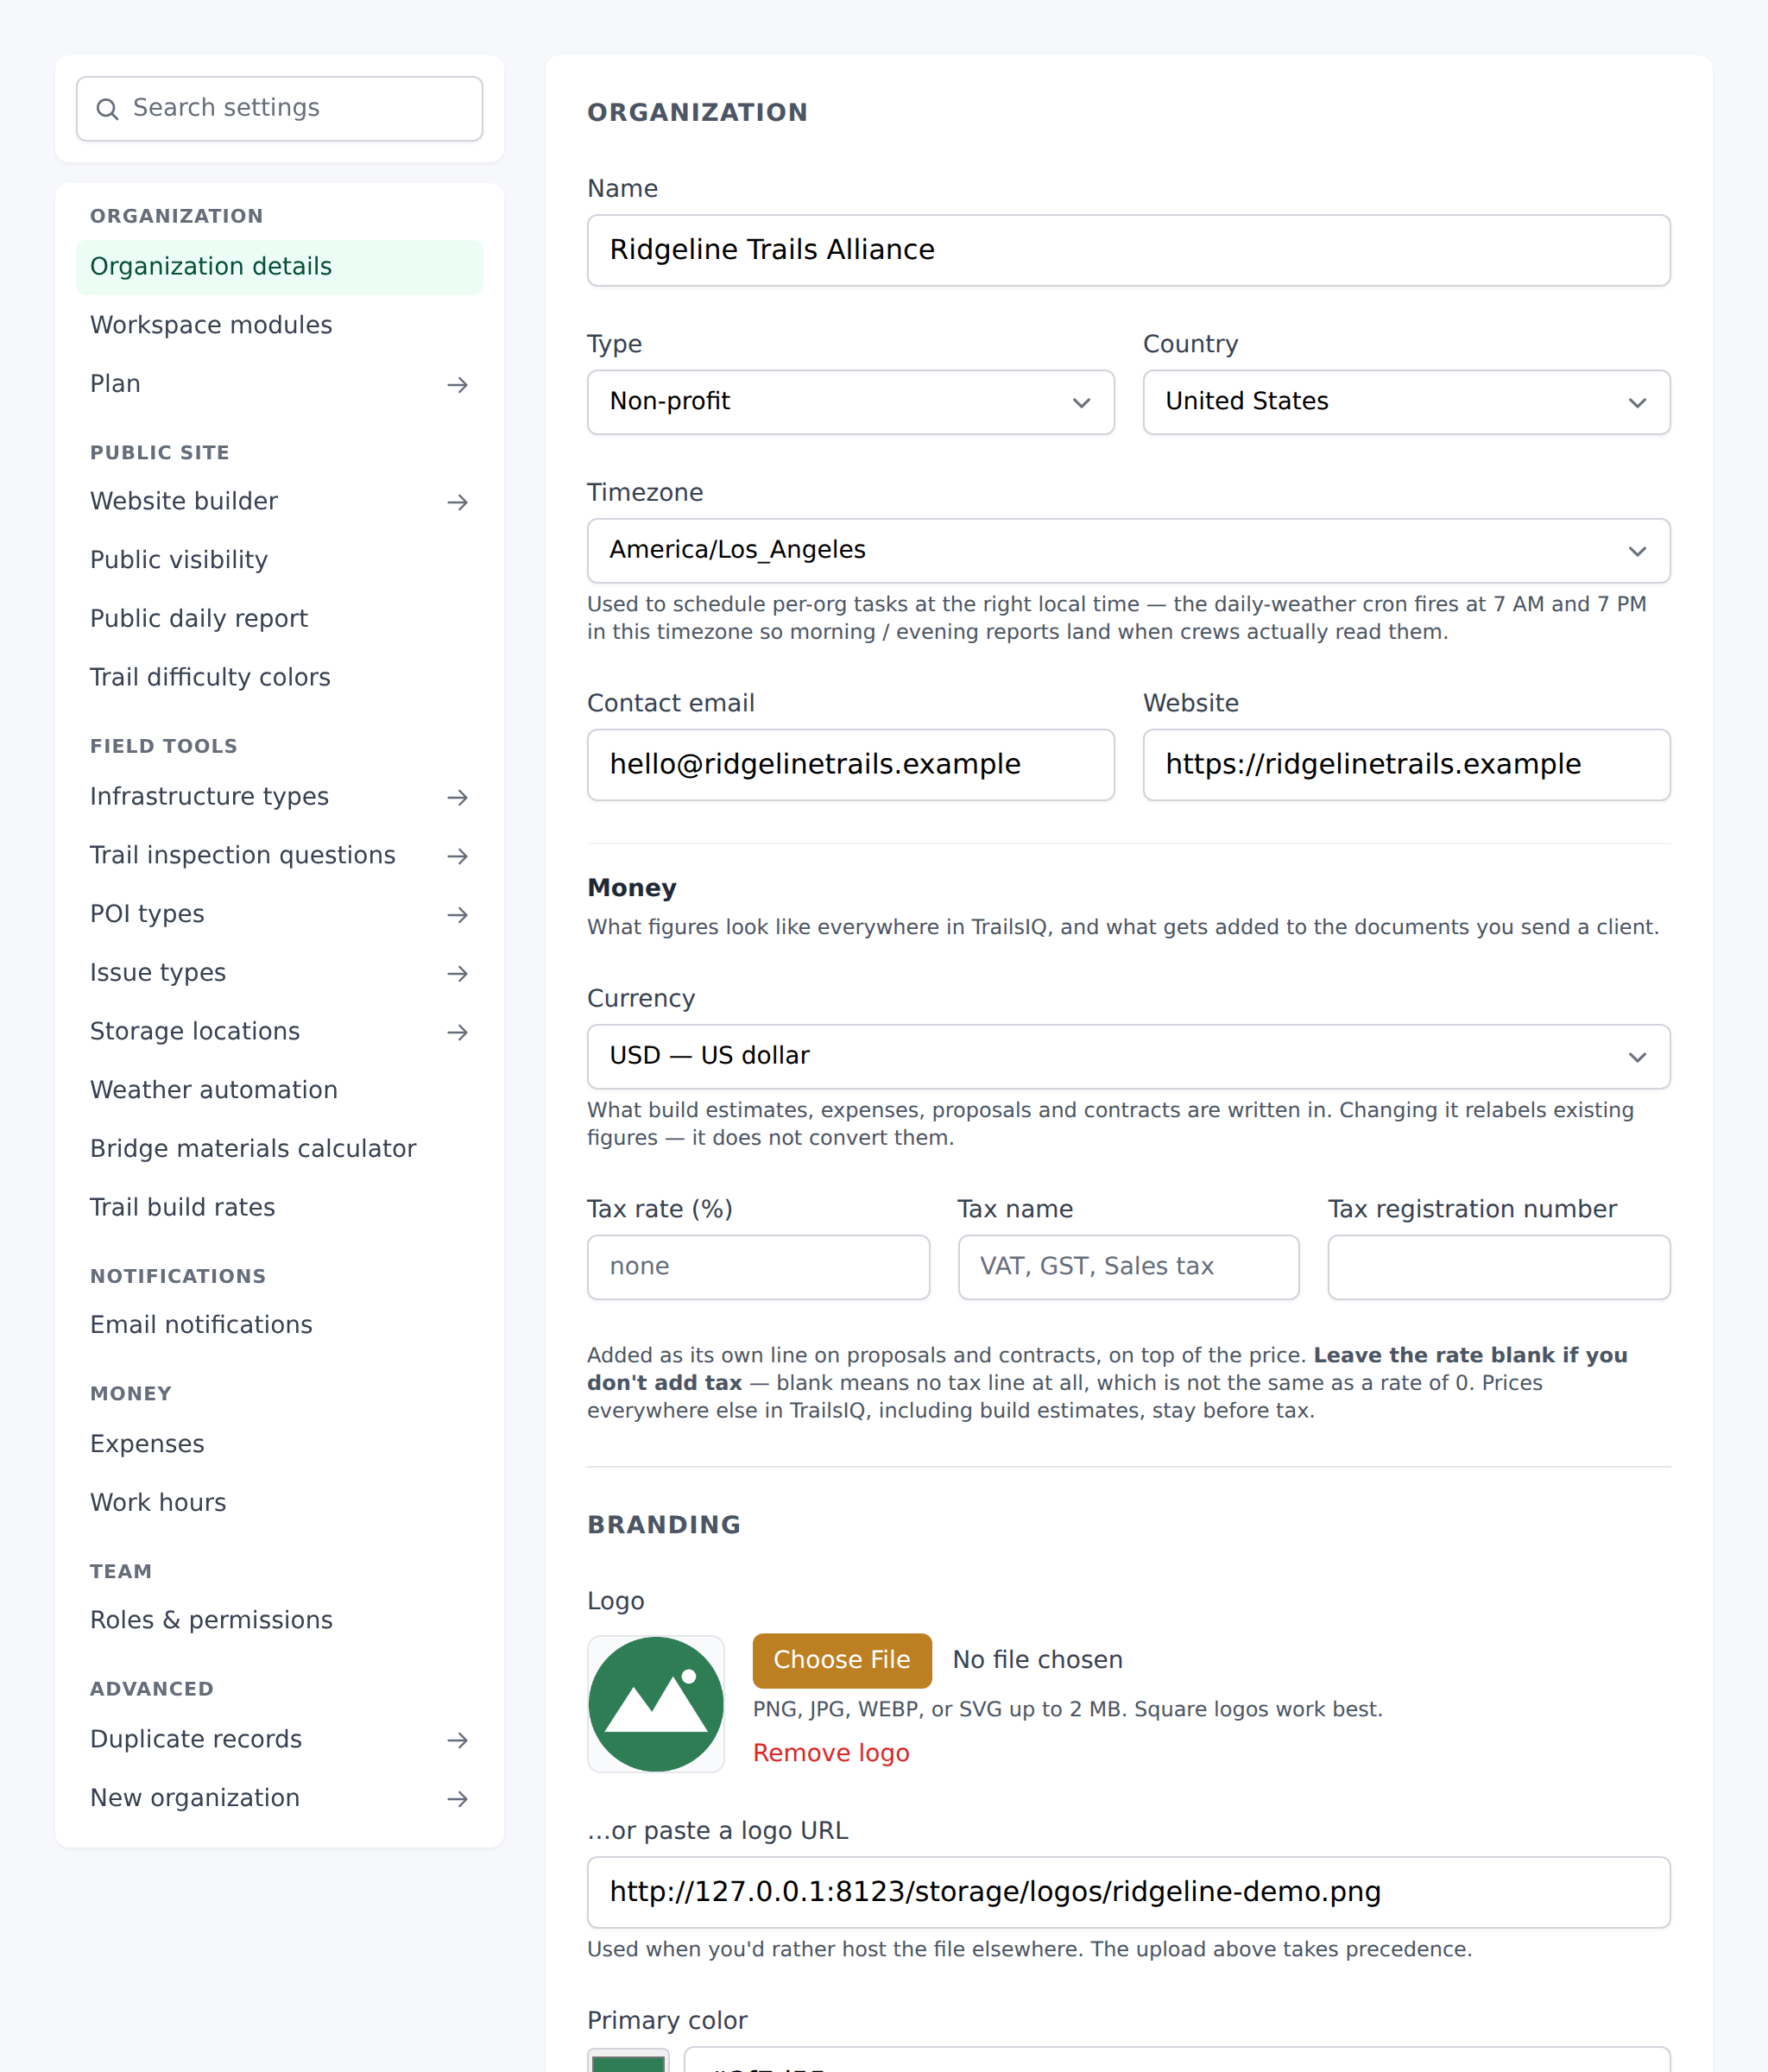
You can add, edit, or delete types at Settings → Infrastructure types. Adding a type there means it appears in the field-app wizard's type picker on step 1; editing the attribute schema changes which extra fields the wizard shows on step 4.
Creating a structure
There is no dashboard "Create structure" form. Every structure is created through the field-app wizard — on your phone in the field or via the field app in a desktop browser tab. The Infrastructure index page's + New structure button opens the field app in a new tab; the field app then routes you into a 4-step wizard.
The wizard's four steps:
- Pick a type — grid of your organization's structure types (Bridge / Stairs / Sign / Kiosk / etc.). Tapping a type advances to the next step.
- Photos — capture 1 to 10 photos with your phone camera or pick from your camera roll. Optional but strongly recommended — the person doing the next inspection wants to see what it looks like now.
- Confirm the spot — GPS auto-locks to your current position; drag the pin if you're off. If GPS isn't available, tap-to-place works too.
- Details — the fields covered in the next section.
Anyone with active membership in your organization can create a structure — owner, manager, field worker, or volunteer. The dashboard + New structure button is only shown to managers, but that's just a UI convenience: field workers use the field-app FAB with a + icon on the Infrastructure tab.
Every field on the create form
Step 4 of the wizard collects the details. Labels below are verbatim.
- Type — the type you picked on step 1, shown read-only. Change it by tapping back and picking again.
- Name (optional) — plain text (placeholder: "Name this structure"). What shows in the list and on the trail's Show page. Blank is fine — the code (e.g.
BR-0001) is unique on its own, but a name like "North Fork bridge" is friendlier. - Per-type custom fields — whatever attributes the structure type defines. See the Type-specific attributes section below.
- Condition — dropdown with Good / Fair / Poor / Unknown. What state the structure is in today. Update this on future inspections to track drift over time.
- Installer (optional) — plain text (placeholder: "Volunteer crew, contractor, …"). Who built or placed it. Useful for warranty conversations later.
- Install date (optional) — date picker. When it was placed.
- Description (optional) — textarea (placeholder: "What is this and why does it matter?"). Any context the next inspector needs.
Latitude / longitude aren't shown as manual fields on the wizard — they come from step 3 (Confirm the spot). Location source (gps vs manual) is stamped automatically so future reports can tell which spots came from a live fix vs a desk drop.
Hit Save to create the structure. The wizard closes, the new structure appears in the Infrastructure list, and its auto-generated code ({PREFIX}-{4-digit sequence}) is assigned server-side.
Type-specific attributes
Each structure type carries its own attribute schema — a list of dynamic fields that the wizard renders on step 4 alongside the standard fields above. Supported field types:
- Text — single-line plain input.
- Textarea — multi-line plain input for longer notes.
- Number — numeric input with optional min/max.
- Date — date picker.
- Select — dropdown with predefined options (e.g. "Concrete / Wood / Steel").
- Checkbox — a yes/no toggle.
- Dimension — a specialised input for physical measurements. Bridges use this to capture length, width, and decking thickness in a way the materials calculator can read.
You define these schemas on Settings → Infrastructure types → Edit type → Attributes. Adding a new field to an existing type doesn't touch structures that were already saved — they just show a blank for that field until the next edit. Changing a field's type (e.g. number → select) does risk stranding old data, so change types with care.
What you enter is kept with the structure itself, so it travels with it. The dashboard slide panel shows the values read-only in a Details block; the edit form shows the same fields inline, so a manager can change any of them.
Photos, code, and inspections
Photos. Every structure supports up to 20 photos, with each upload batch capped at 10 files, 5 MB per file, PNG or JPEG. When the 21st photo is uploaded, the oldest one rotates off so the count stays at 20. Photos land in the dashboard slide panel as a grid; tapping any photo opens the lightbox for full-size viewing.
Code. Every structure gets an auto-generated identifier: the type's prefix (e.g. BR for Bridge), a dash, and a 4-digit zero-padded sequence unique inside your organization (e.g. BR-0001). The code appears on the structure card, in exports, and next to the name on trail Show pages. It's stable once assigned — even if you change the structure's type later, the code stays.
Inspections. The structure type carries an inspection interval in months, and a new structure's first inspection is due that far after its install date. Filing an inspection from the field app moves the date forward and sets the structure's condition from the answers — see Inspecting structures. Overdue structures show an Overdue chip on the slide panel and can be filtered on the index page; that's your worklist for the next round. Beside it, At risk filters to everything rated Poor or Failed whether or not it is due for a walk — that's the same set the Dashboard's Structures at risk tile counts, so the number and the list always agree.
Inspections are filed from the field app. On the dashboard, the slide panel's Inspections tab lists every walk on record, newest first, each one leading with what changed since the walk before it.
Viewing and editing a structure
There's no standalone Structure show page — every structure "opens" as a slide-out panel on the Infrastructure index page. Clicking a structure card, or hitting a direct URL like /structures/BR-0001, both open the panel with the structure pre-selected.
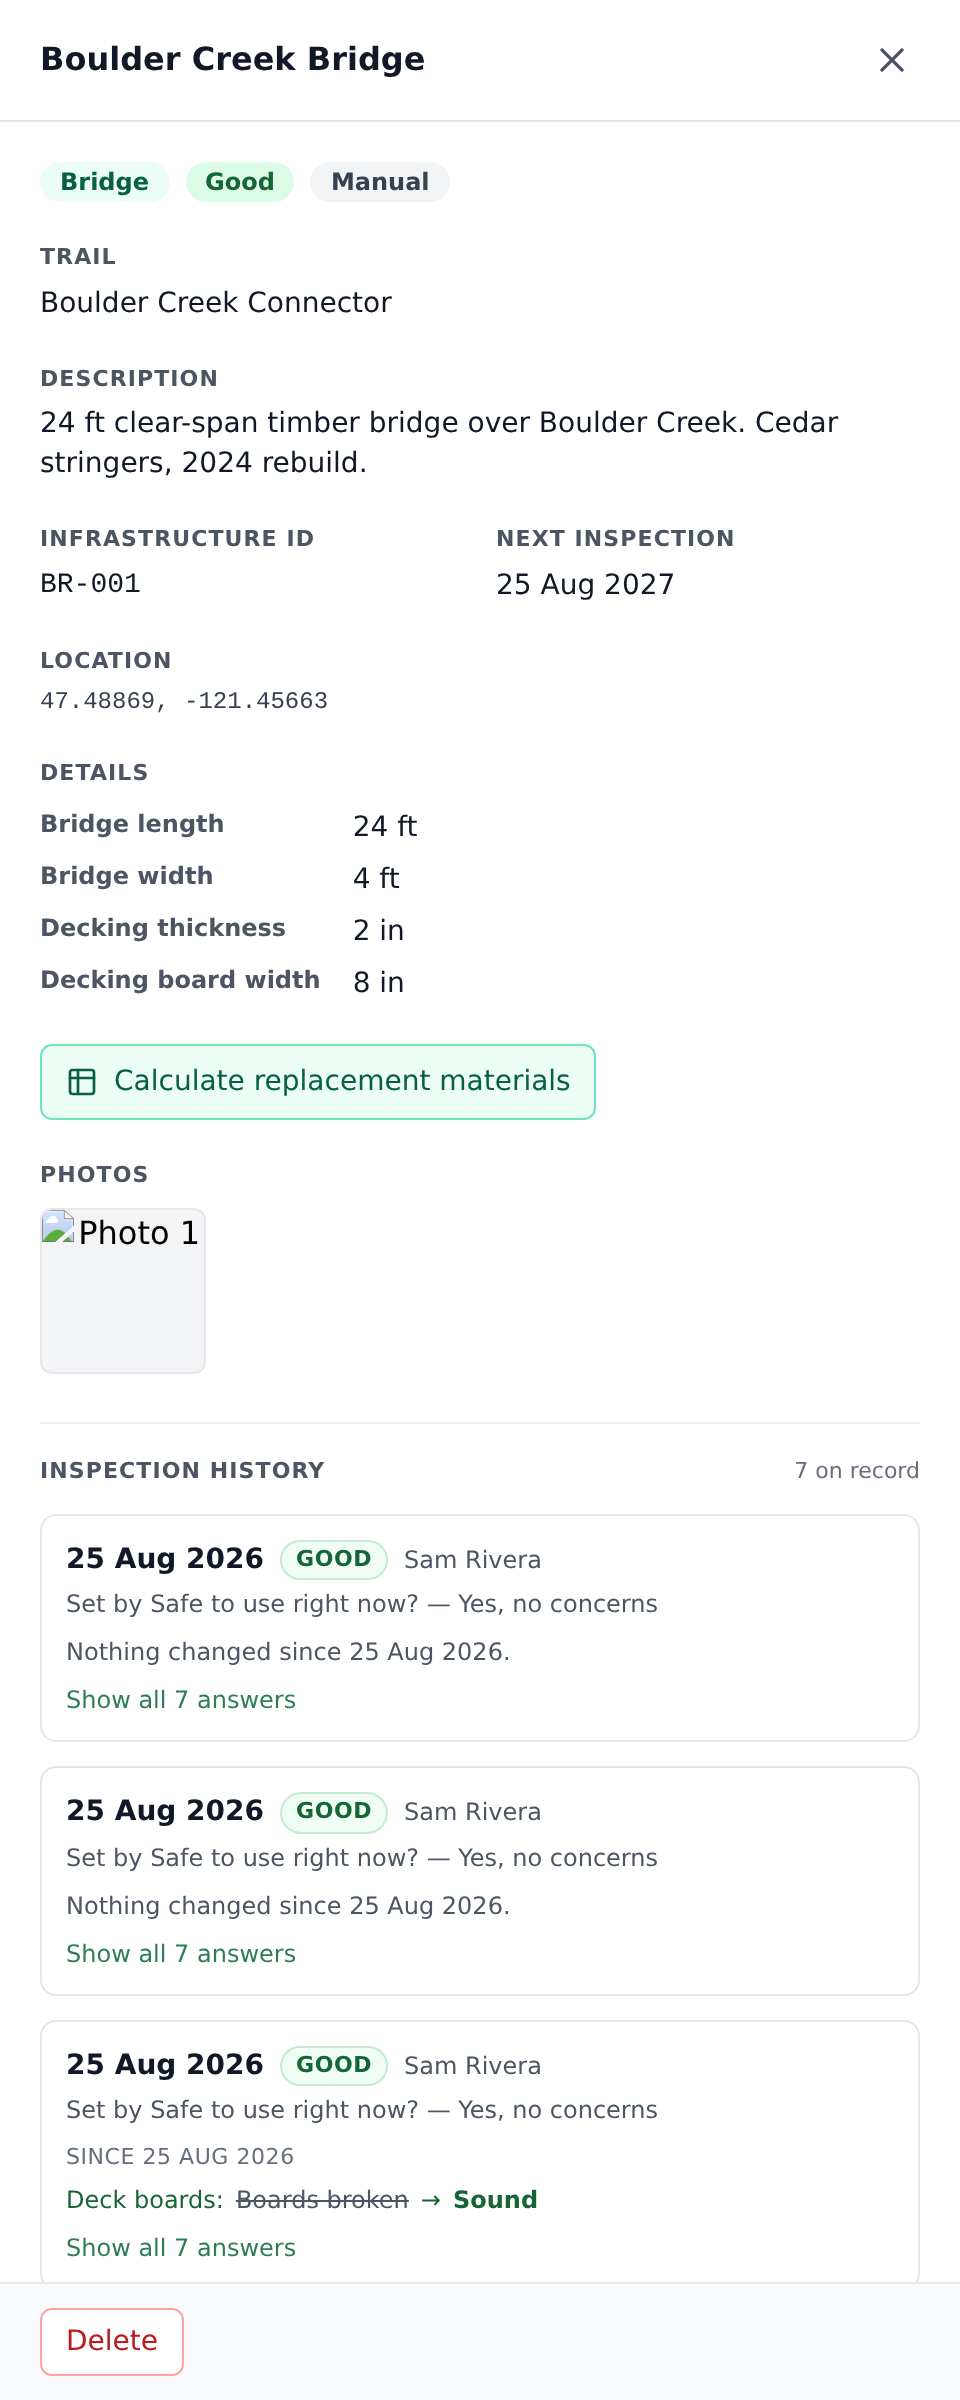
The slide panel opens with the structure's type icon and name, and chips for its type, its code and its condition. An Inspection overdue chip joins them when the next inspection date has passed.
Under that are two tabs:
- Details — the description, the trail it is on (or Not on a trail), the next inspection date, the location, the per-type attributes read-only, the Calculate replacement materials button for bridges (see the next section), and the photo grid.
- Inspections — every walk on record, newest first. Each one leads with what changed since the walk before it, and Show all answers opens the full set, with any photo taken on a question beside that answer.
Managers see Edit details and Delete along the bottom of the panel. Edit details opens the form in the Details tab, and Save changes or Cancel replace it until you are done. Every field is editable — including the structure's type, which is intentional (a mis-picked type on creation can be corrected without recreating). Field workers see the panel as read-only; they file structures via the field app but rely on a manager to correct a name or update a condition.
Bridges: the materials calculator
Bridges are the only structure type with a special affordance: on the slide panel, managers see a Calculate replacement materials button. Tapping it opens a materials sheet that reads the bridge's canonical dimensions (length, width, decking thickness) from its type attributes and generates a materials list — number of decking boards, structural stringers, hardware — plus a downloadable PDF you can hand to a lumber supplier.
The calculator needs all three canonical dimensions to be set. If any is missing, the button surfaces the missing values so you know what to fill in before recalculating. Materials selection (dimensional lumber sizes, hardware options) is controlled by your organization's lumber-type picks; those live in the structure's edit form as decking picker / structural picker fields.
A link to download the list as a PDF appears in the sheet once the calculator has valid dimensions.
Linkage to trails, networks, and maintenance items
A structure can live in one of three states:
- On a trail — it appears on that trail's page under Structures, with its code, name, type and condition. Delete the trail and the structure survives; it simply becomes standalone.
- On a network — useful for a kiosk at a trailhead serving several trails at once. Delete the network and, again, the structure becomes standalone.
- Standalone — no trail or network link. Common for structures created before the trails they'll eventually attach to were imported.
You can attach or reassign from the slide panel's edit form via the Trail dropdown ("— None —" is a valid choice) — no need to recreate.
Maintenance items. Every maintenance issue can be linked to a structure via the Broken structure issue type — see the How to create a maintenance item article. Deleting a structure doesn't delete the maintenance items linked to it. They lose the link and stay on the maintenance list without it.
Deleting a structure
The Delete button sits at the bottom right of the slide panel. It's owner/manager only. Confirmation reads "Delete this structure? This cannot be undone."
What happens on delete:
- The structure is removed.
- Any maintenance items that pointed at it lose the link, but the items themselves stay.
- The auto-generated code is not reused — if you delete
BR-0003, the next bridge you create isBR-0004, notBR-0003. This keeps historical references stable. - Photos go with the structure. Deleting one removes its photographs and stops them counting toward your storage. You do not have to clear them first.
If you want to hide a structure temporarily rather than deleting it, drop it off its trail and let it sit as standalone. There's no soft-delete for structures.
Common gotchas
- There is no dashboard "Create structure" form. Every structure is filed via the field-app wizard. The dashboard + New structure button opens the field app in a new tab.
- The menu says Infrastructure and the web address says structures. Same thing — the address kept its older name so existing bookmarks and links still work.
- Structure codes are stable and never reused. Deleting a structure leaves a gap in the numbering — that's intentional.
- Deleting a structure deletes its photos. They stop counting against your storage at the same moment the structure goes.
- Bridge materials calculator needs the three canonical dimensions. If you haven't filled in length / width / decking thickness on the bridge's type attributes, the button surfaces the missing fields instead of a lumber list.
- Type changes are allowed and safe. A mis-picked type on creation can be fixed by editing the structure and picking a different type. The code stays, the type-attribute values may or may not carry over depending on schema overlap.
- Field workers can create but can't edit. They file structures via the field app; a manager corrects any typos or updates conditions afterwards.
What's next
- Set up your organization's structure types at Settings → Infrastructure types. Add the ones you'll actually use, delete the ones you won't, and configure each type's attribute schema (dimensions for bridges, sign height for signposts, etc.).
- Read the How to create a maintenance item article for the Broken structure issue-type flow — that's how you file "the bridge decking is rotting" against a specific structure.
- Point-of-interest data (viewpoints, campsites, hazards) is a separate model — see the How to create and edit points of interest article.